Granny's chocolate cake

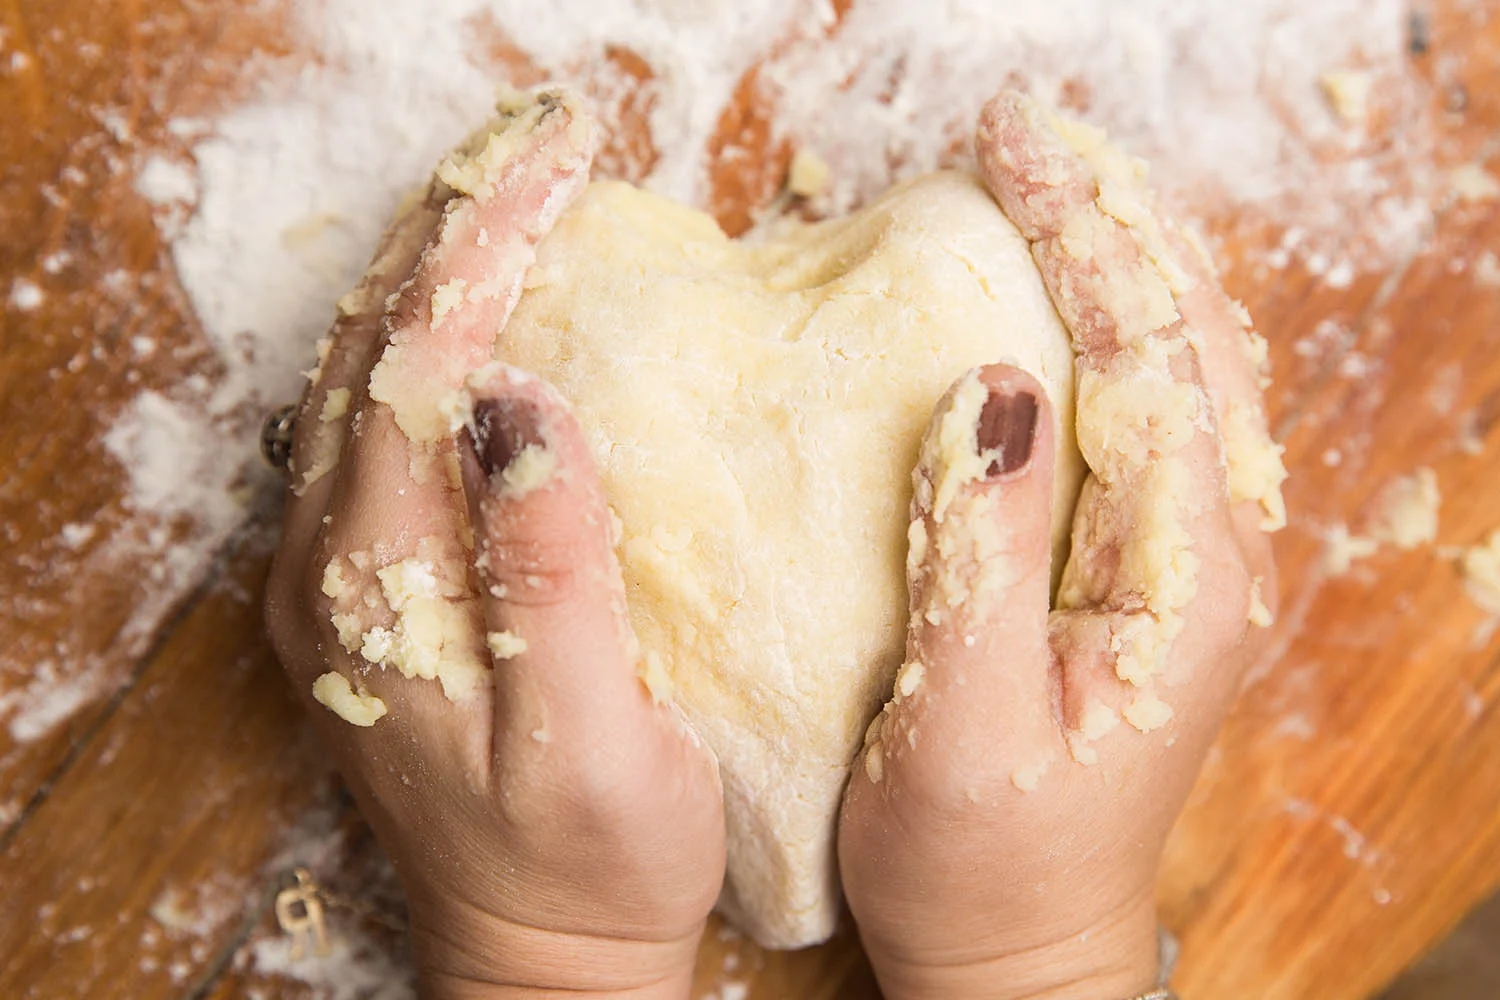
Did you ever bake when you were a little girl? When I was young I used to hover around my mother in the kitchen. Watching her as she cooked or baked and listening to the information she would share with me. It was no different when I visited my grandmother's. She was always so patient with me and started teaching me how to bake from my earliest memories. It is something I am so grateful for. Coming from a long line of family cooks is a special tradition I hope to always keep alive.

I remember starting out with pre mixed box cake where you just add the wet ingredients. Now, if anyone knows me this is something I frown upon, however for a seven year old me it was the perfect way to learn how to bake. By the time I was eight I had progressed to the level of sifting my own dry ingredients and starting to frost two tiered cakes. Under my mothers ever-watchful eye I took on harder recipes and challenged myself constantly.

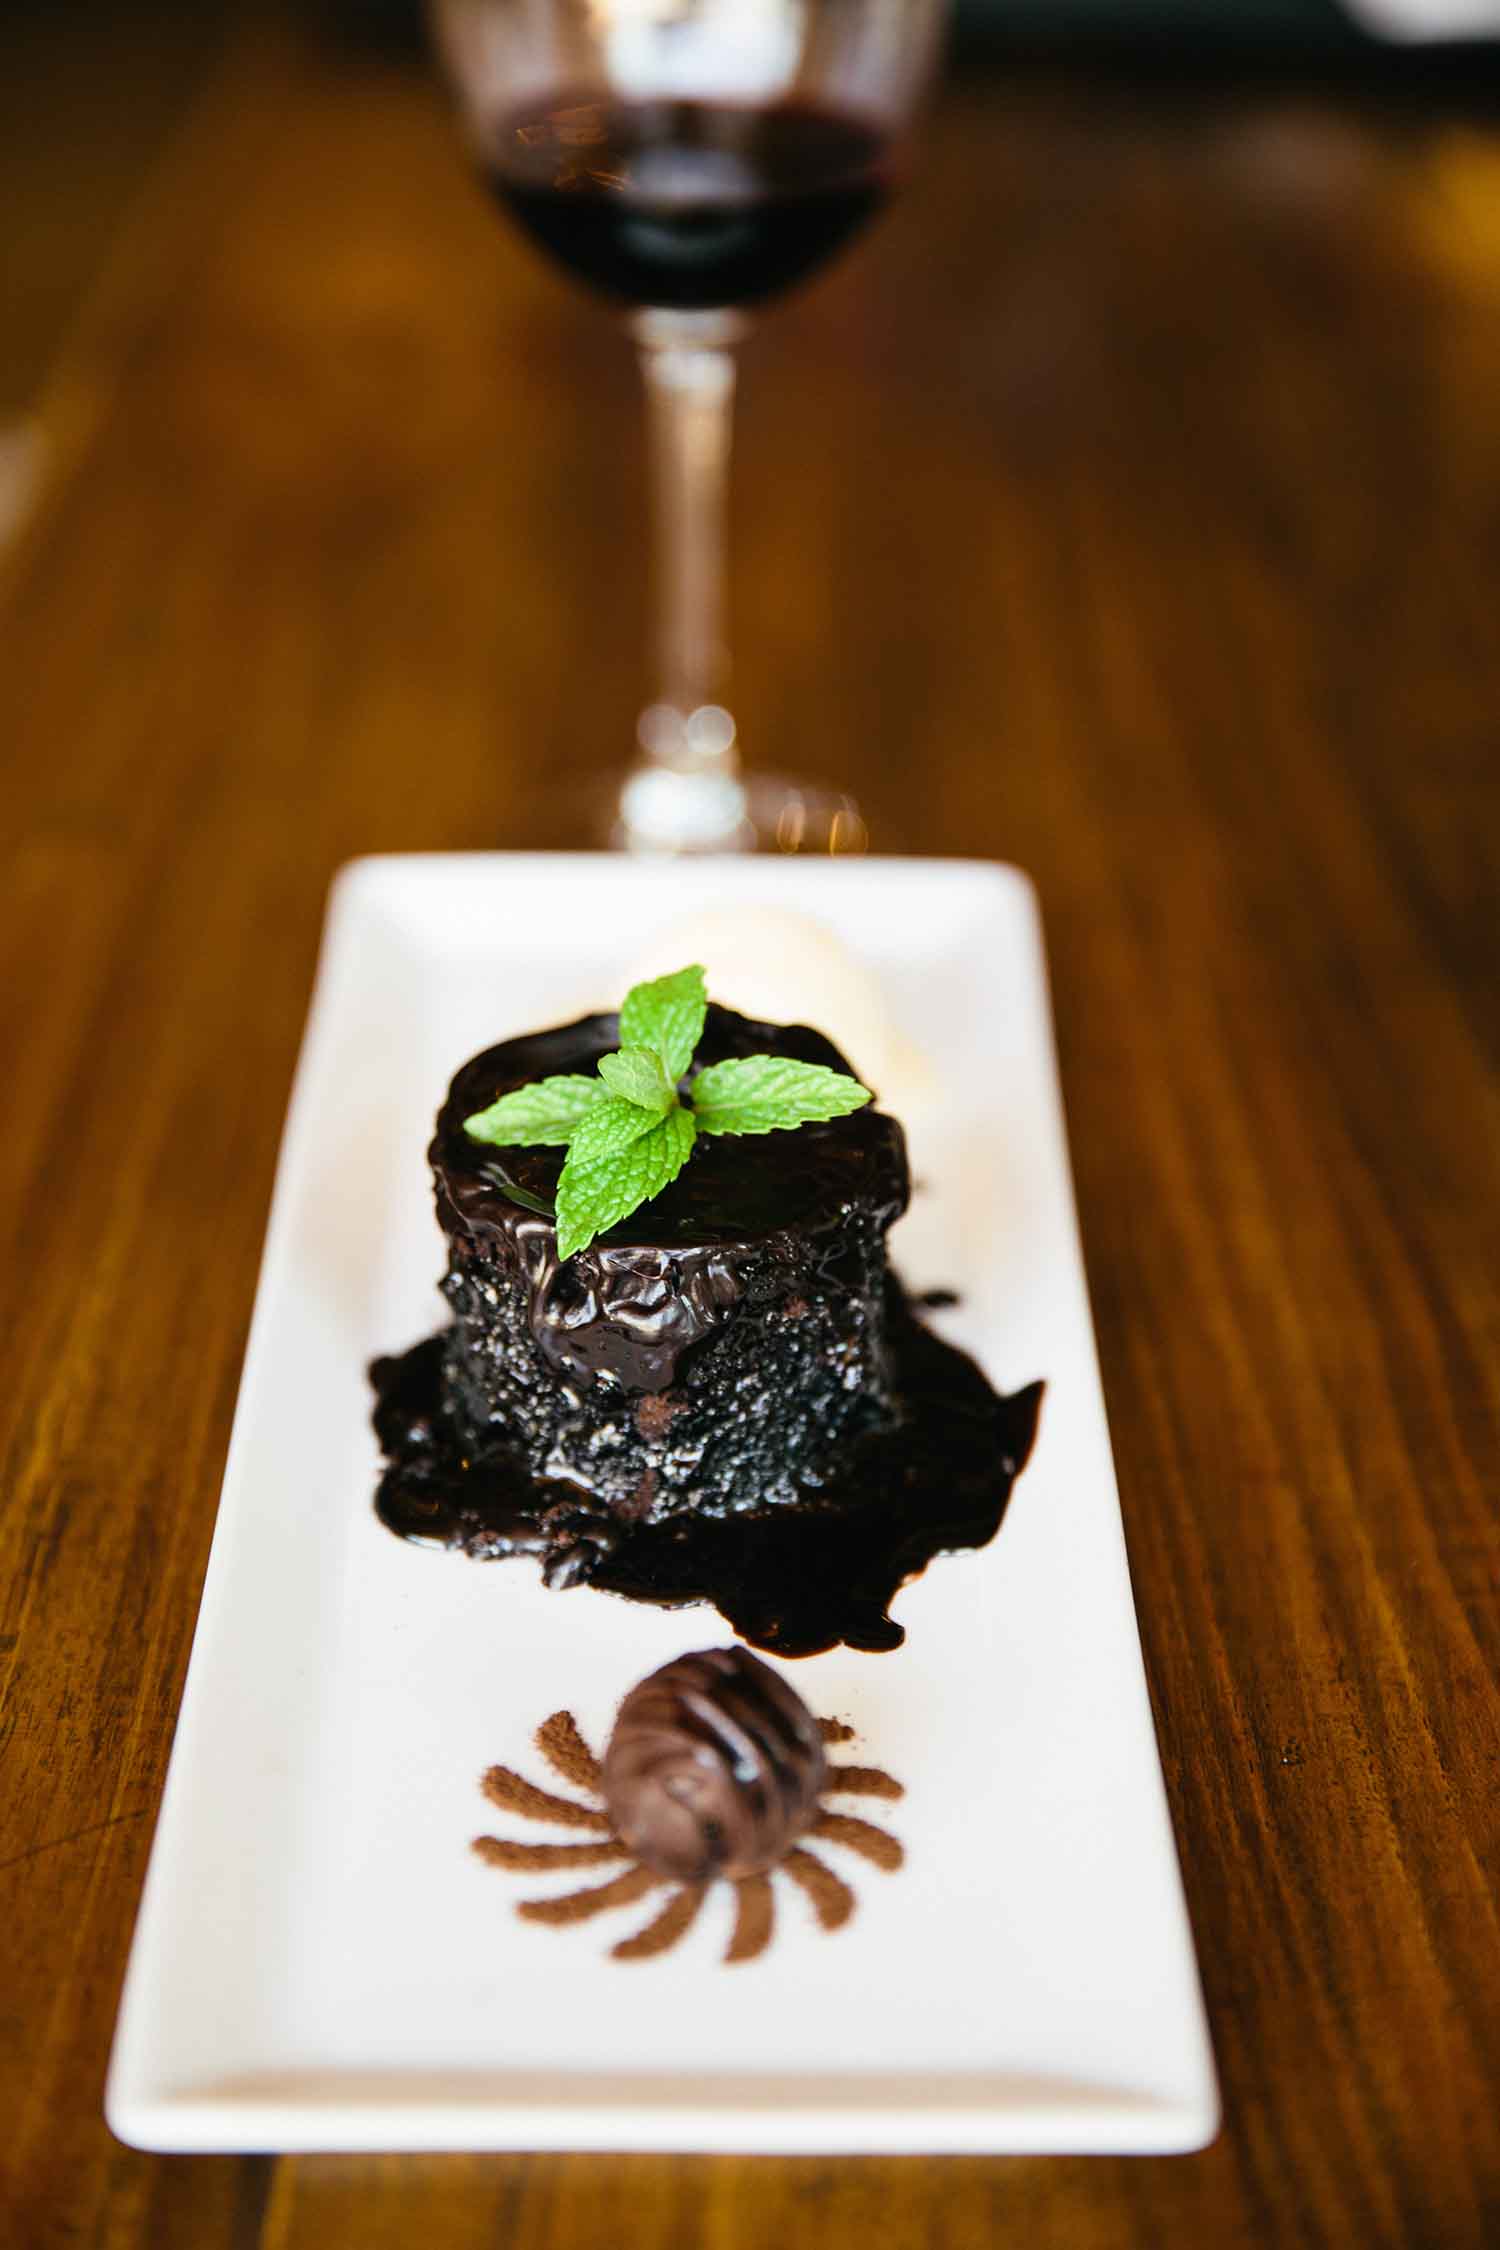
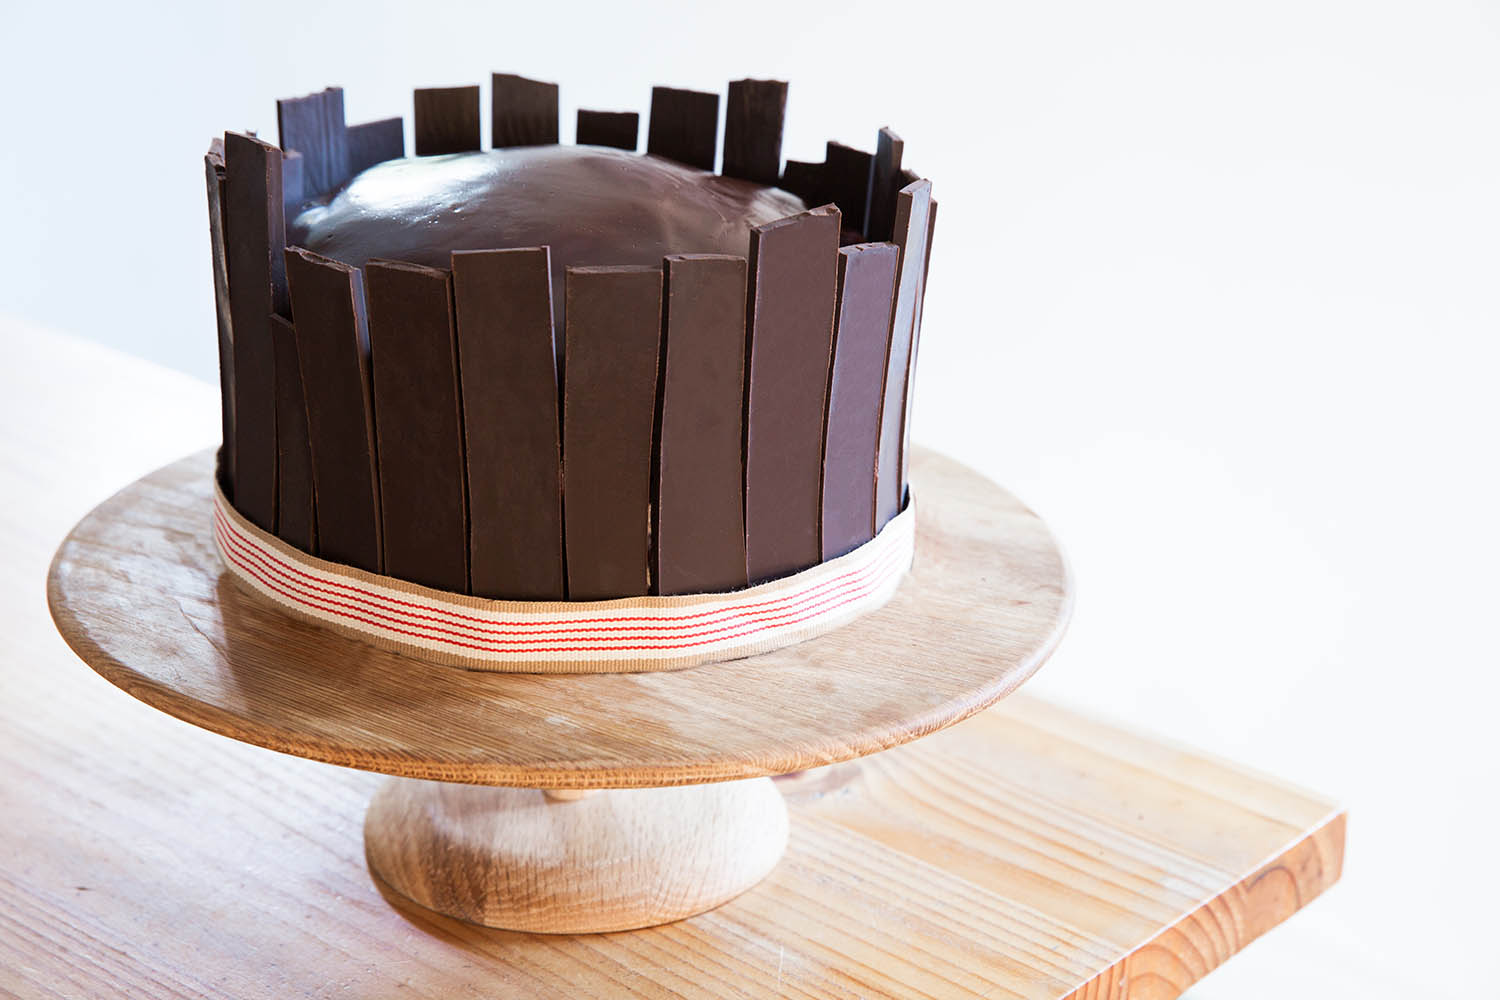
This chocolate cake is the cake that I practiced on at my mother’s knee and you will love it because it is fail proof. It’s been in my family for five generations. This cake laid the foundation for the baker that I am today. I have so many special memories of making this cake time and time again. It is the cake that you save for that special someone’s birthday or that you bake with a friend.

And most importantly, it is about memories and making them!


Ingredients:

Cake

1 cup cocoa

2 cups boiling water

2 ¾ cups sifted flour

2 teaspoon bicarb

1 ½ teaspoon vanilla extract

1 ½ teaspoon baking powder

½ teaspoon salt

1 cup soft butter

4 eggs

2 ½ cups castor sugar

Buttercream

1 cup butter

2 cups icing sugar, sifted

¾ cup cocoa

2 eggs

¼ teaspoon vanilla extract

Glaze

2 tablespoon cocoa

250ml fresh cream

125ml icing sugar, sifted

200 grams Lindt 70% dark chocolate

Chocolate shards

300 grams dark Lindt chocolate 70%


Instructions

Preheat oven to 180 degrees Celsius

Grease two 26cm tins or three 20cm tins

Line a small baking tin with wax paper (roughly 20cmx30cm)

Mix 1 cup cocoa with your boiling water and allow to cool to ice cold

For the chocolate shards:

Place a small pot filled with water on a medium to high heat.

Put a glass bowl on top of the pot.

Make sure the glass bowl is dry and that no water gets in as it can seize the chocolate. Bring the water to simmer and turn off heat.

Break in 2/3 of the chocolate into the glass bowl and let it sit for about 5 minutes or until 2/3’s of the chocolate has melted. 

Once you reach this stage you can stir the chocolate until it has all melted.
Now you are going to let the chocolate re solidify. DO NOT get any water into your bowl!


To test if your chocolate is tempering without a thermometer lift a spatula up to your lower lip and dab a little bit under your lip. This area is very sensitive to heat. If it stings a little it’s correct! It should not sting too much.
Remove the bowl off the water and dry the bottom.

Add the remaining chocolate to the melted chocolate and fold in gently until it is all melted. 

The chocolate will begin to thicken and cool. This is part of the process and you will have to be patient. It can take up to a half and hour.

Touch the chocolate to the bottom of your lip again. It should be just cooler than your body temperature.

Your chocolate is now tempered which means it will have a great snap and dry glossy.

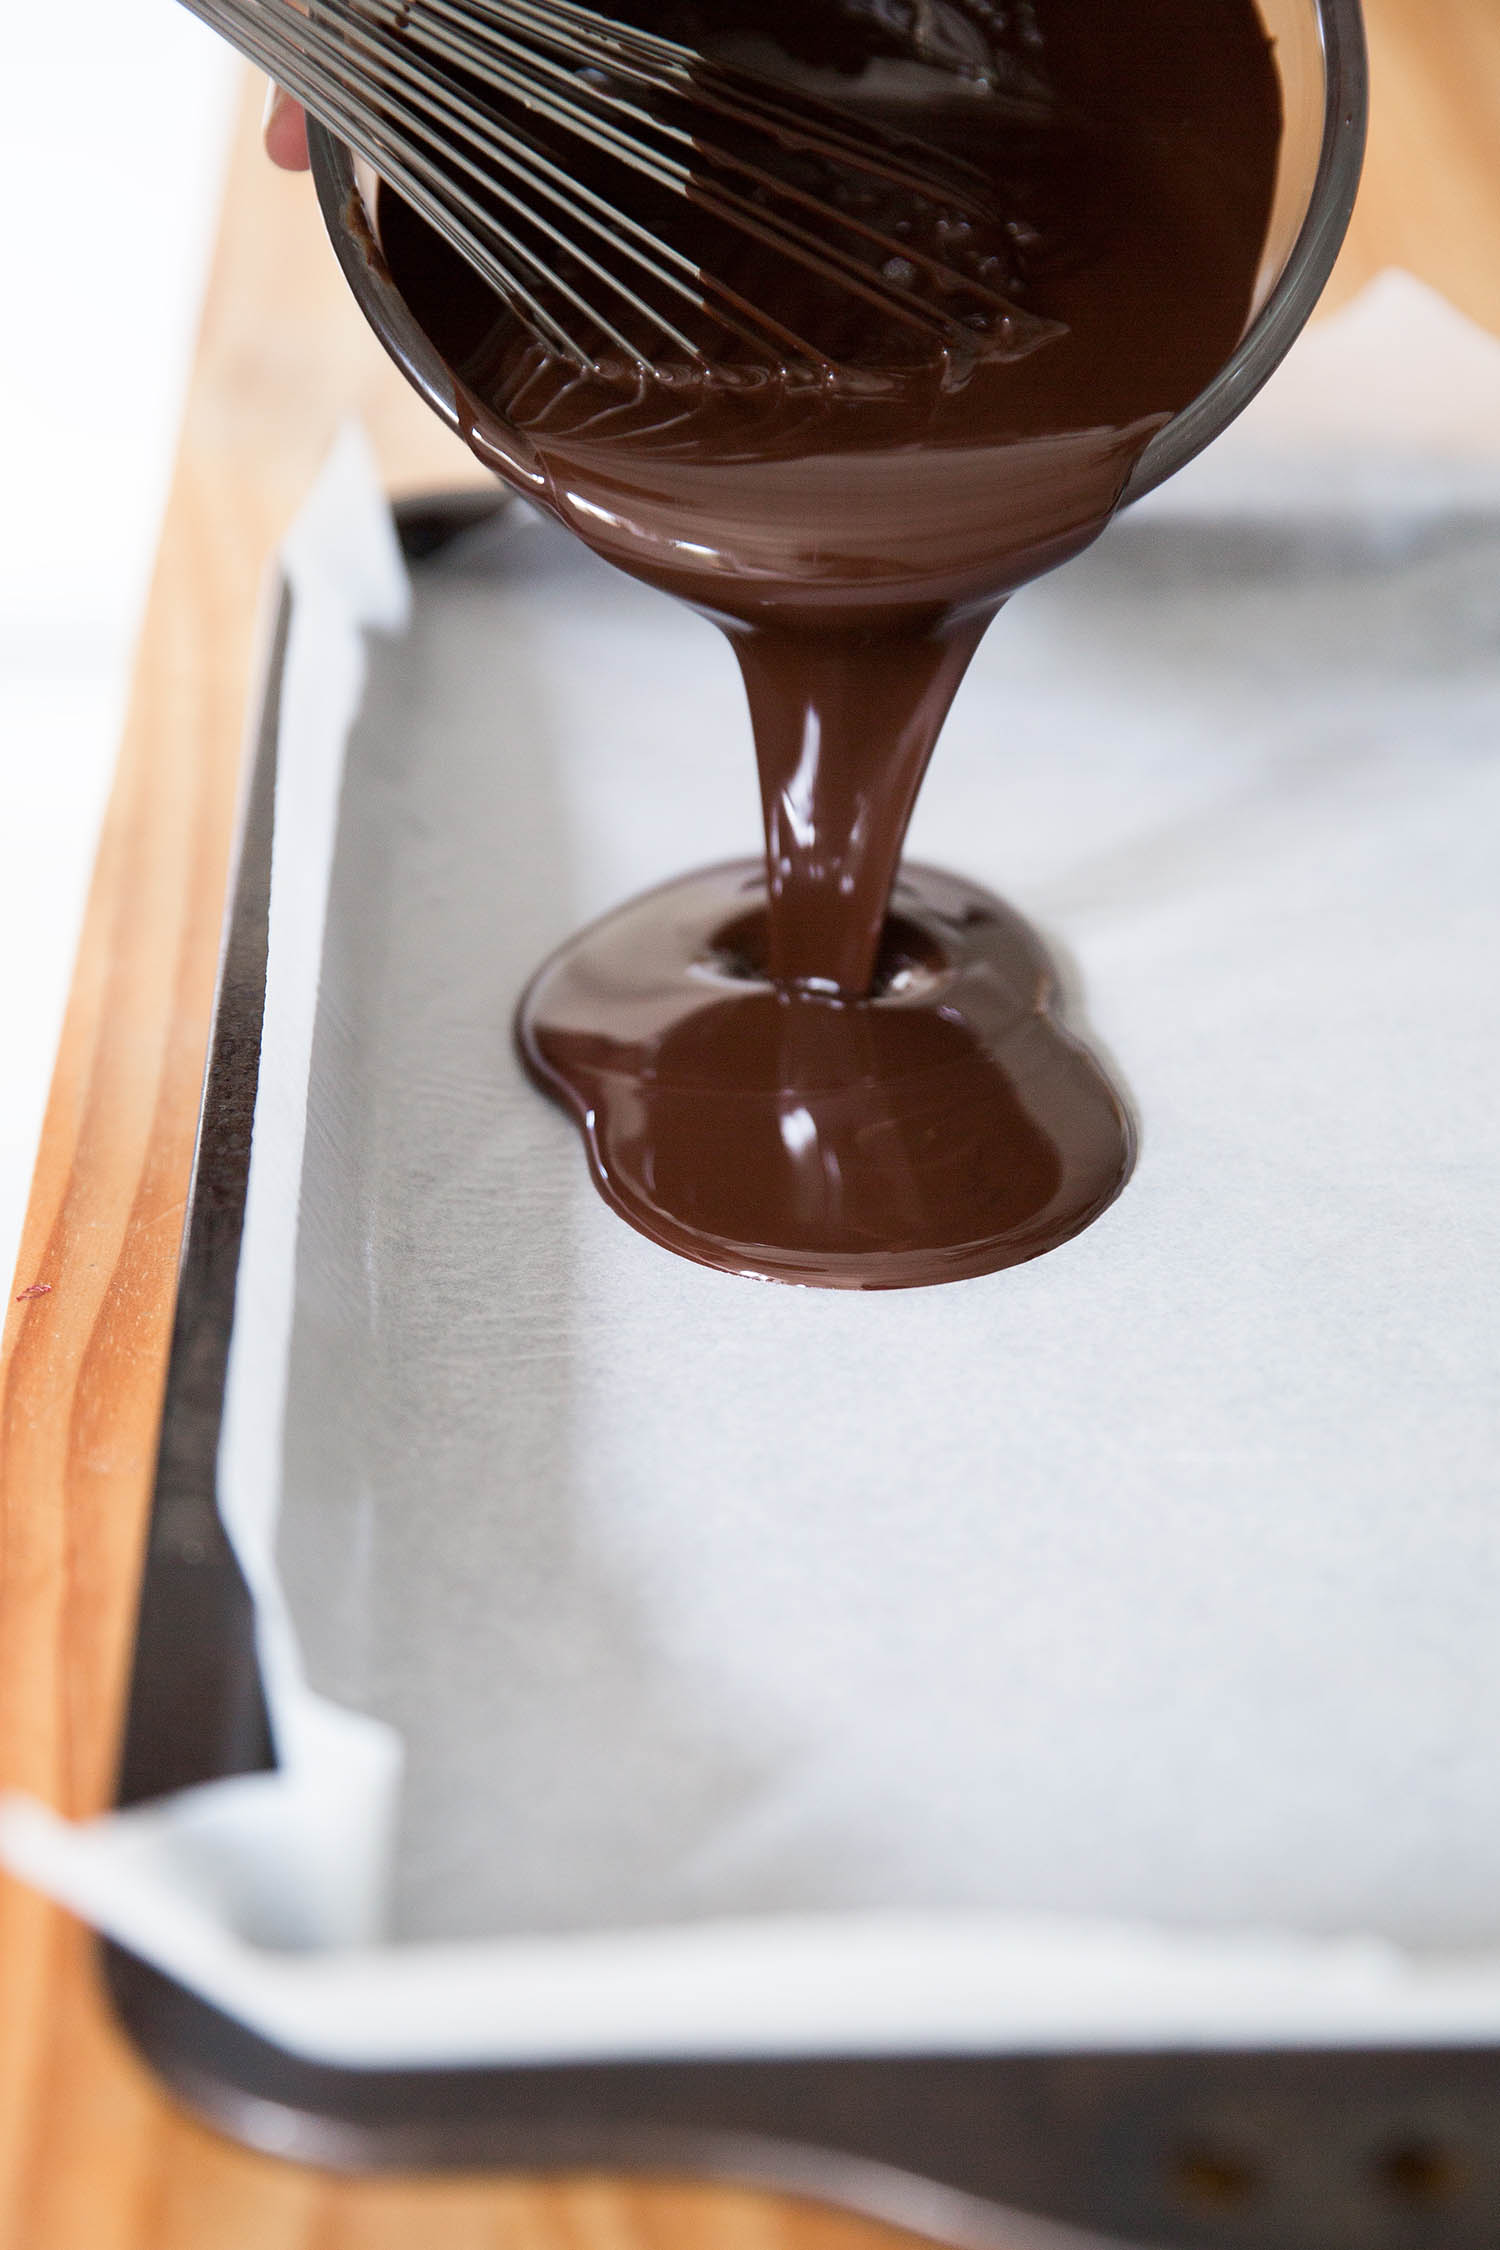
Pour your chocolate into your prepared baking tin lined with wax paper and set aside to solidify completely.

For the cake:

Beat butter and sugar until creamy.
Add eggs, one at a time mixing well after each one.

Add vanilla

Sift the flour, bicarb and baking powder into a separate large bowl

Add your dry ingredients alternatively to your cocoa mixture. Mixing well after each addition.

Pour an even amount of cake batter into your tins.

Bake for 35-40 minutes or until a cake tester comes out clean

Once baked allow to cool on a cooling rack.

For the buttercream:

Beat together butter, icing sugar, eggs, vanilla and cocoa until a light and fluffy consistency is reached.

For the glaze:

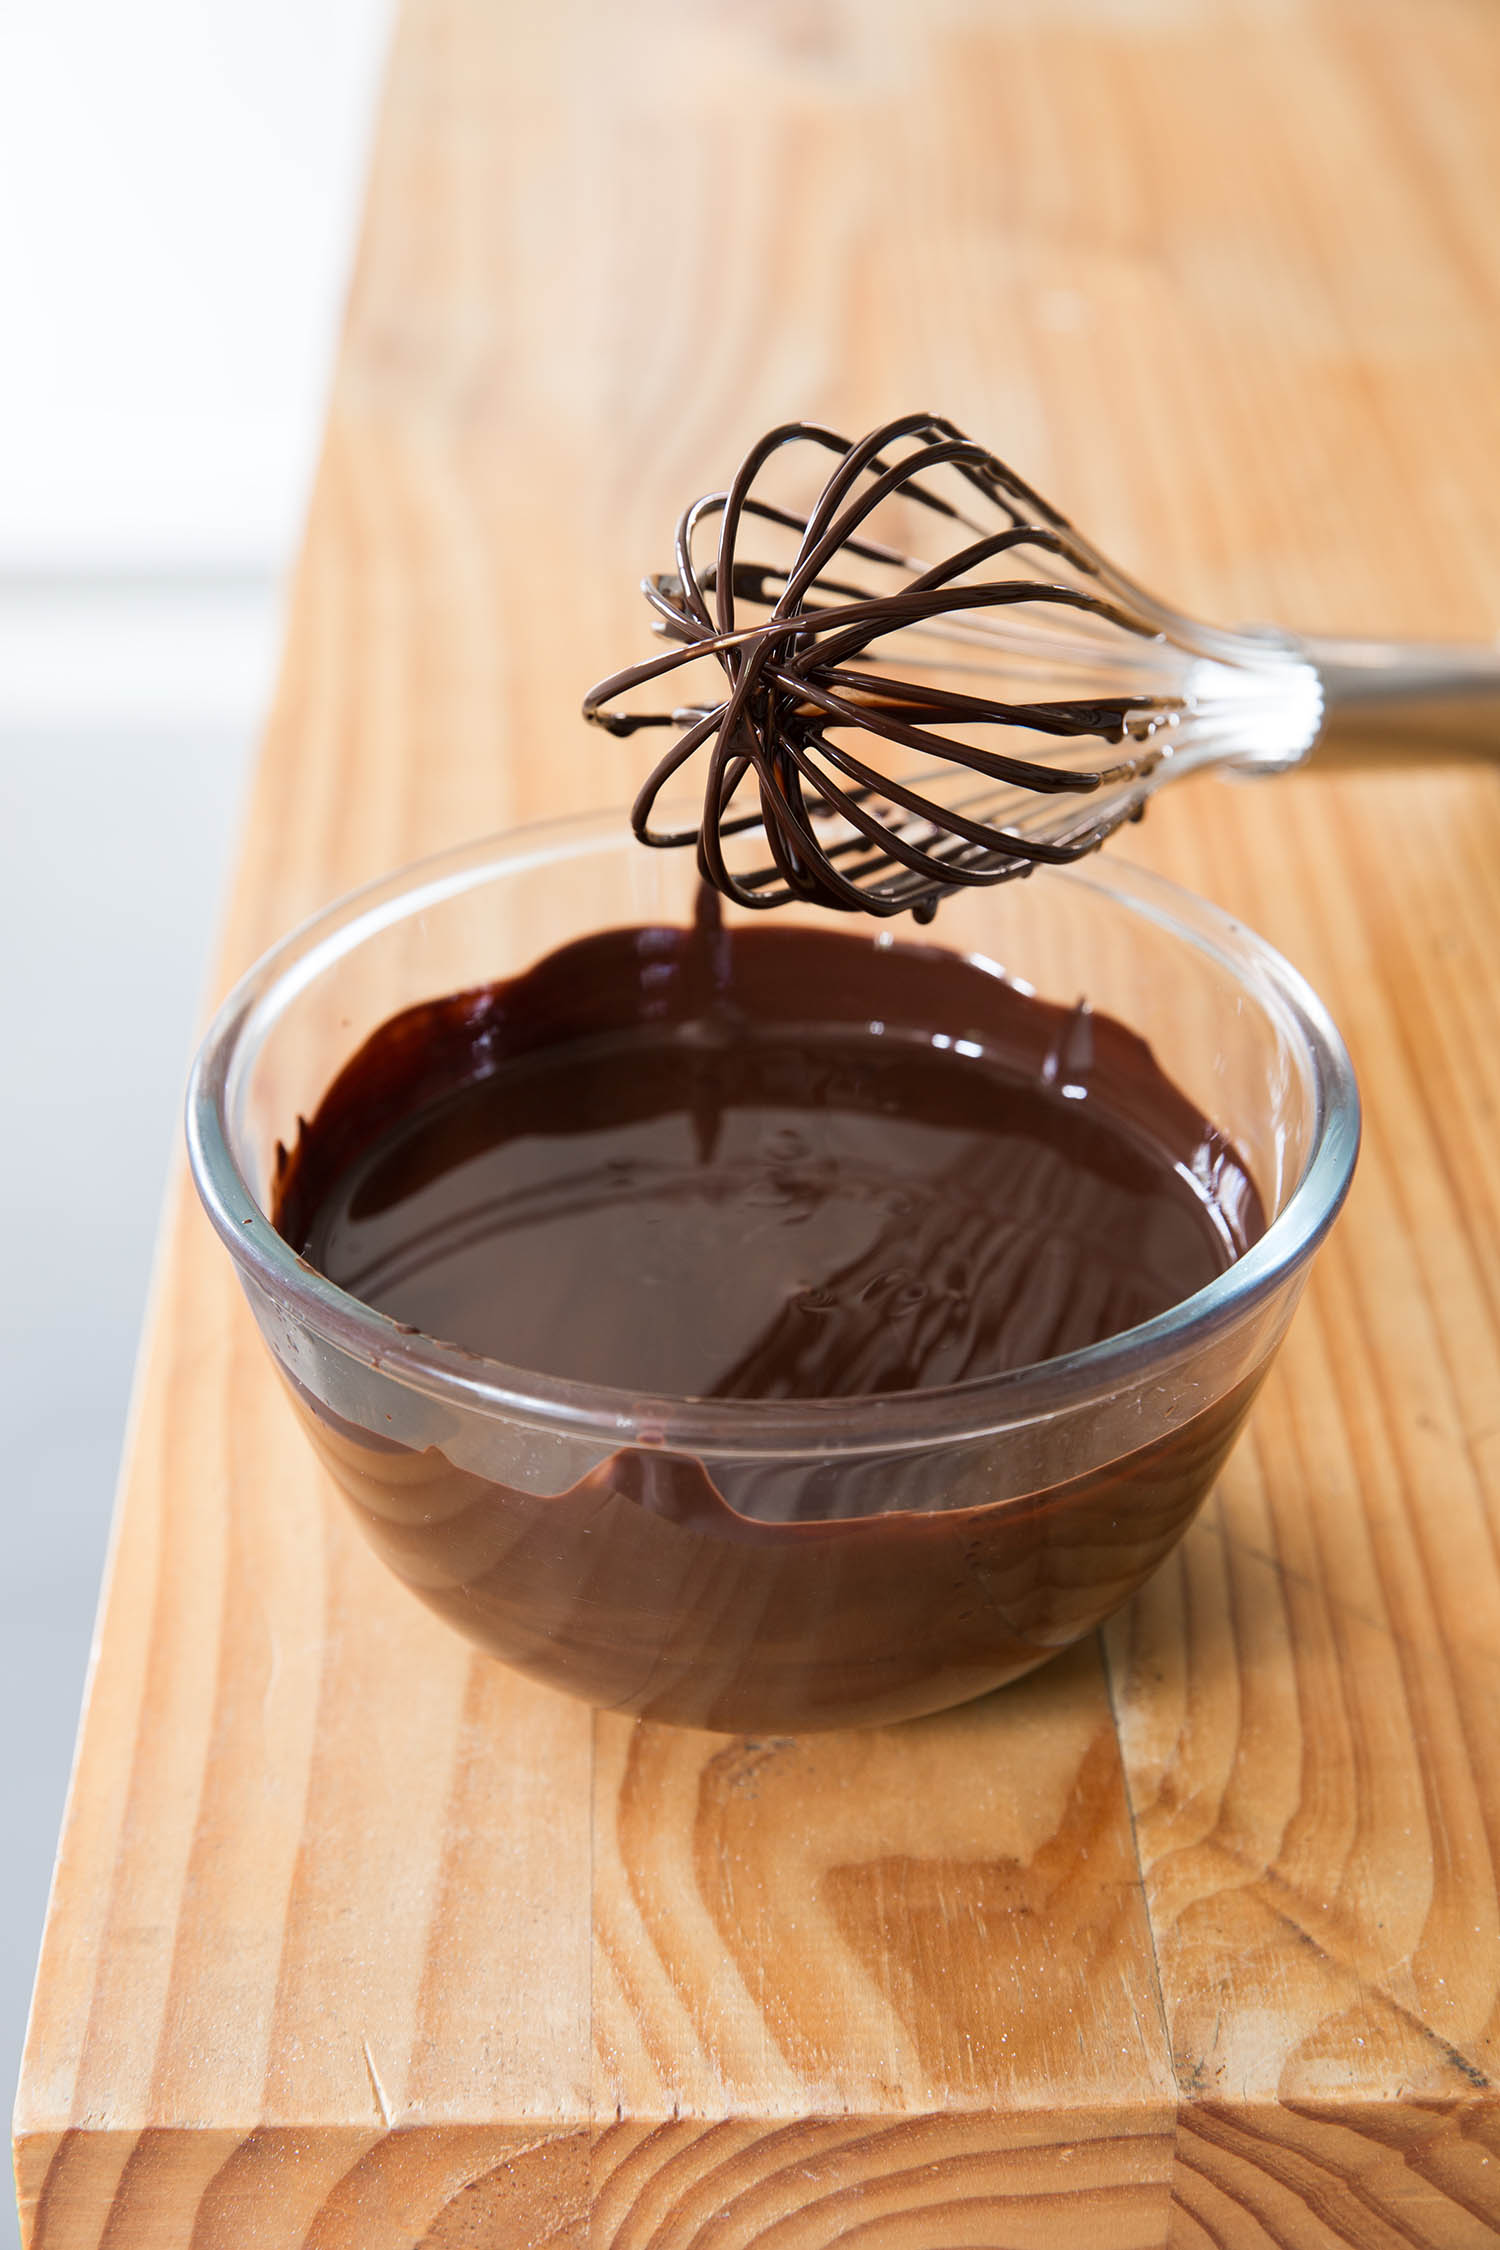
Temper your 200 grams dark Lindt chocolate. Keep it over the simmering water and add the icing sugar, mixing until it is fully combined. Add the cocoa powder again mixing well after each addition.

Warm the cream up in a small saucepan. Once warm add it to the chocolate. The chocolate shouldn’t seize because both chocolate and cream are warm. However if it hardens do not panic, just keep mixing. Remove from heat and keep mixing. The chocolate glaze will come together and become a thick running consistency.

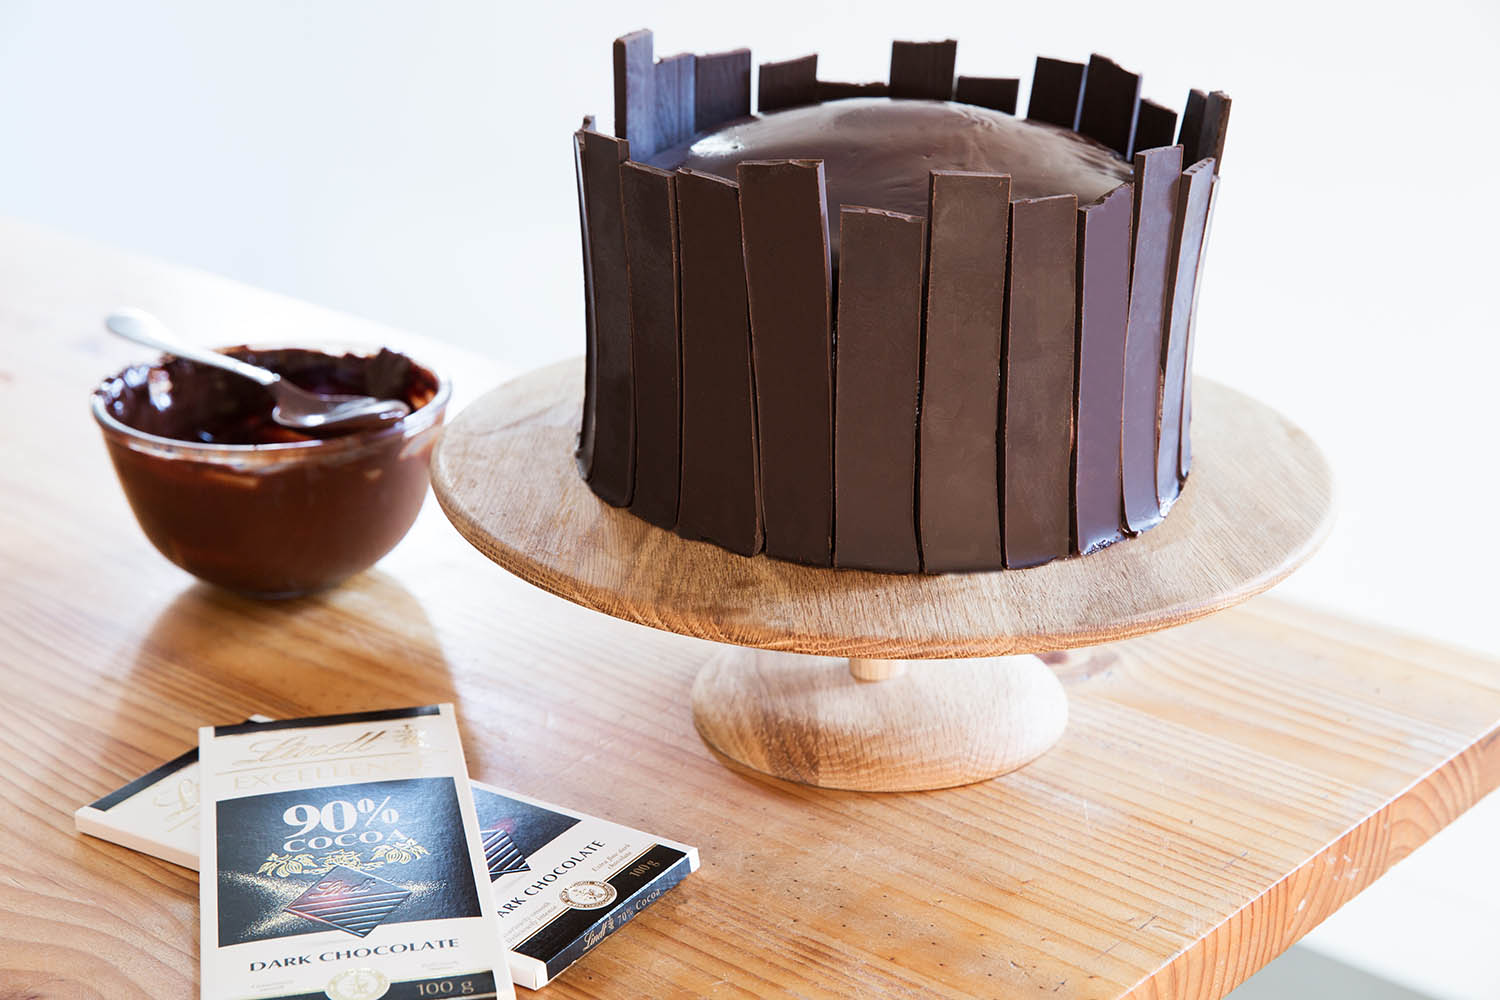
Remove your chocolate sheet from the wax paper and cut into even strips. You should have enough if you cut them about 5cm thick length ways. 

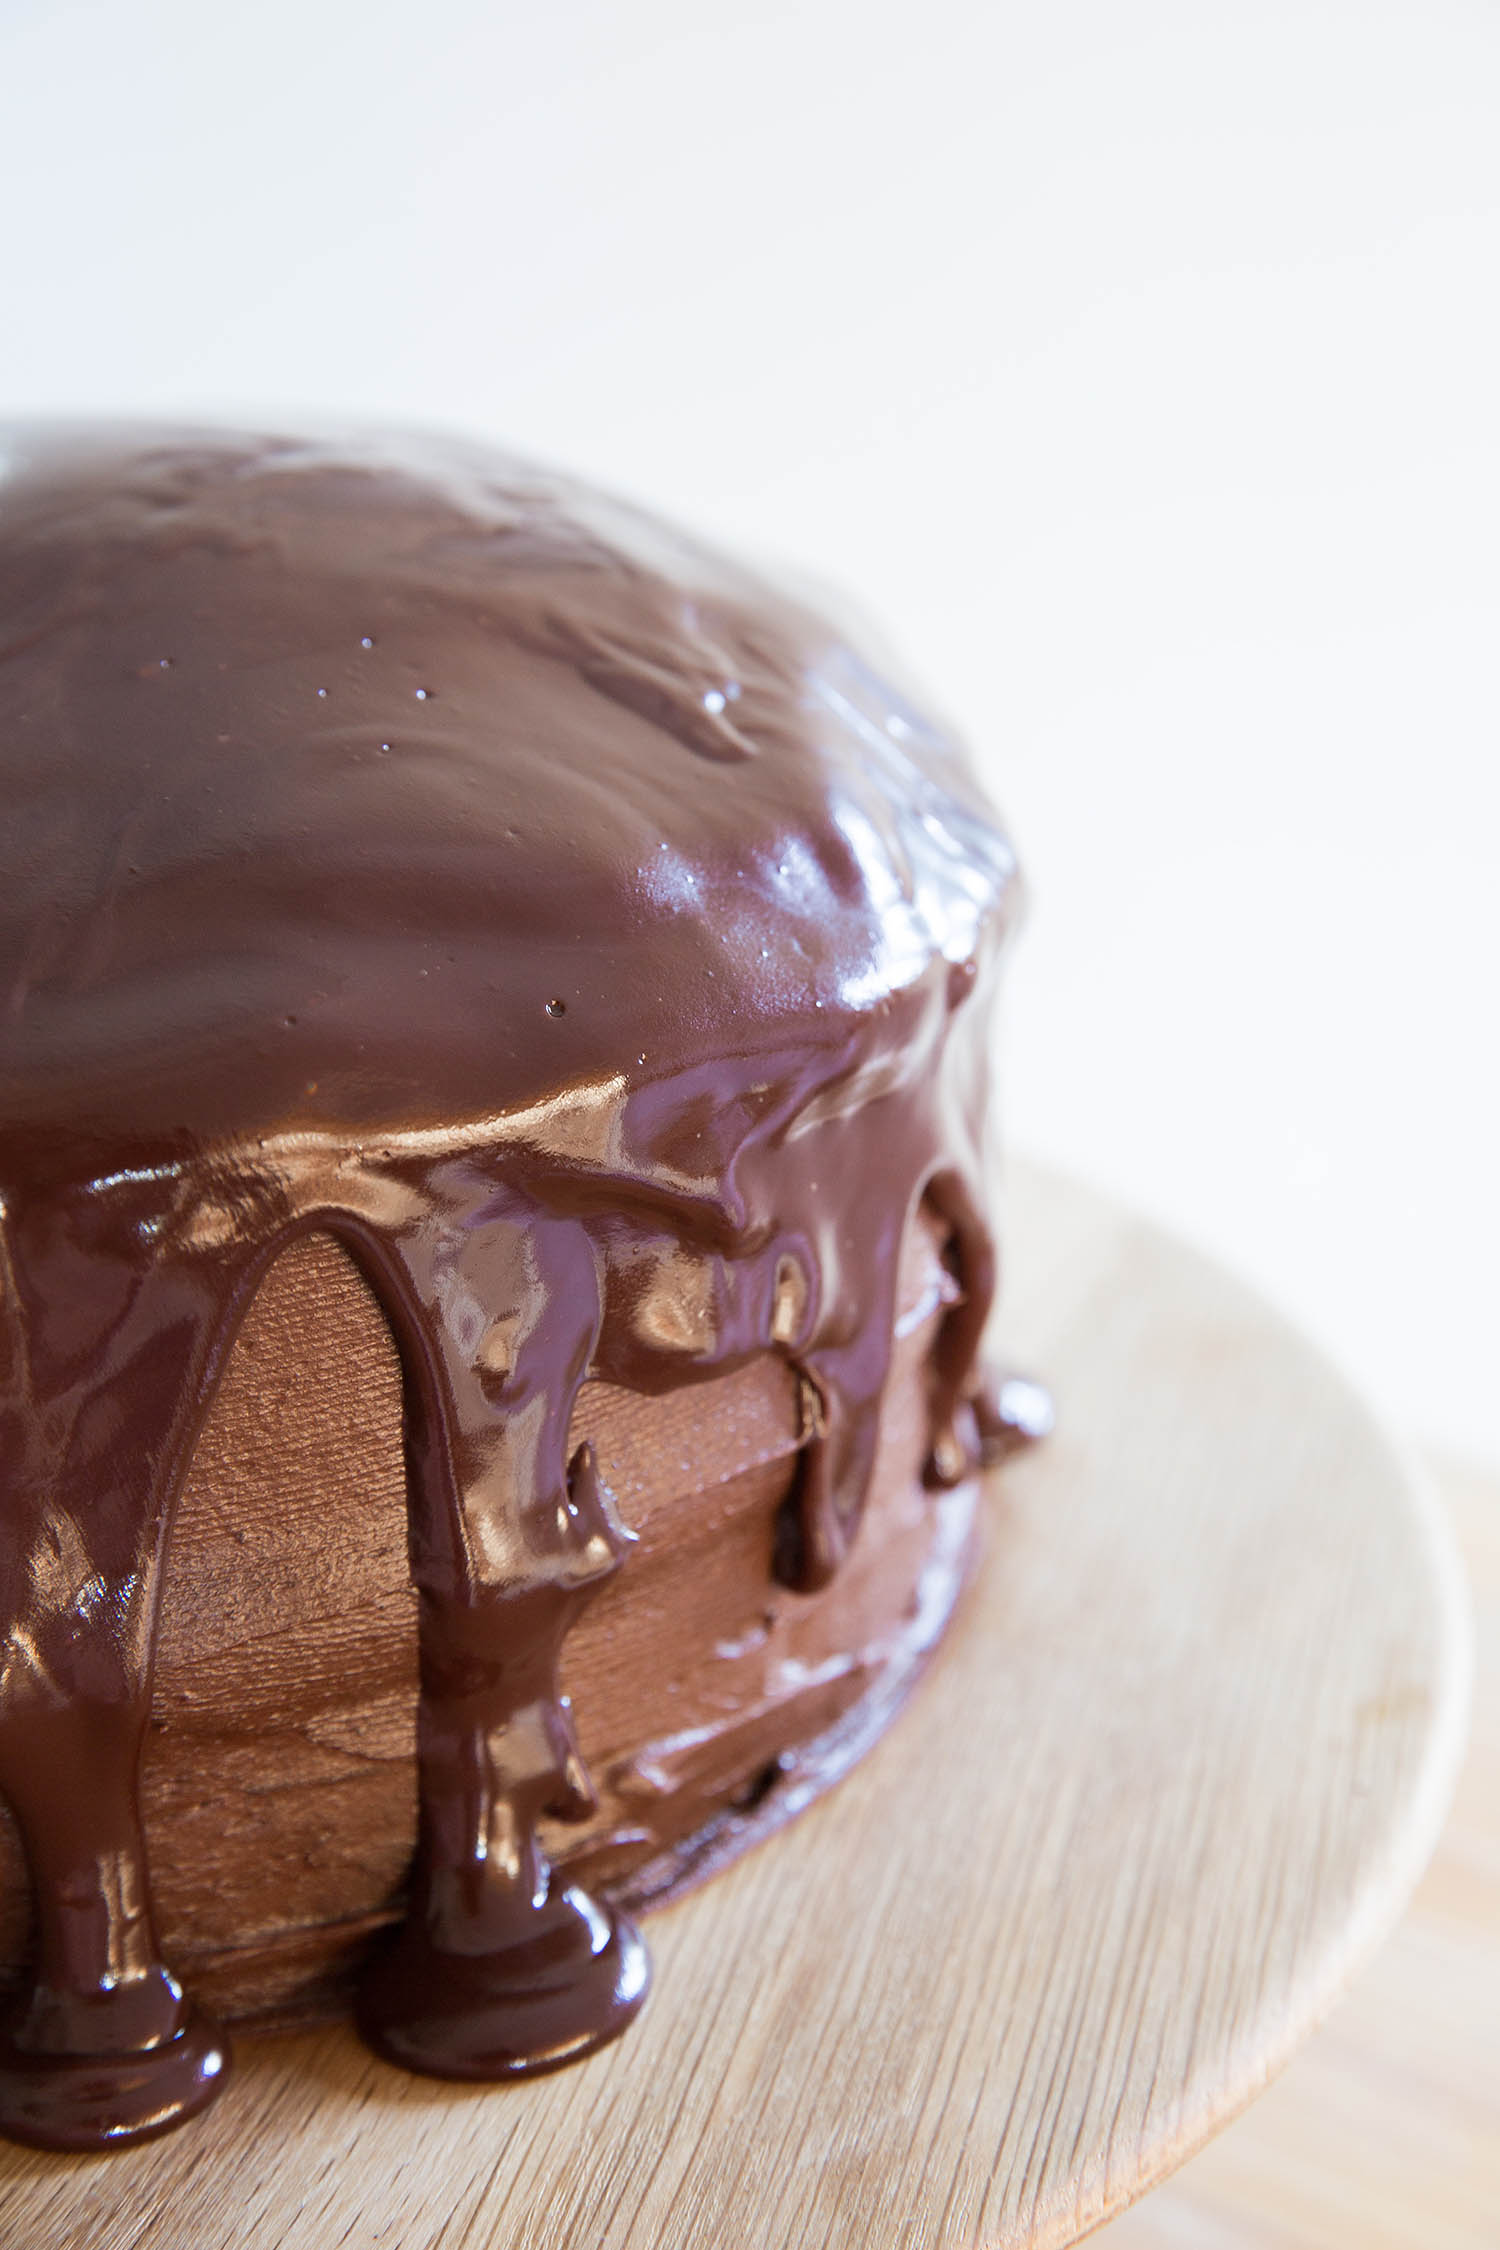
Ice your cake using the buttercream and an icing or butter knife.

Pour the glaze slowly over the top of your frosted cake. 

When the glaze has set decorate your cake with the chocolate shards!

-Melissa


Blood Spatter Cookies

When I was younger we never really celebrated Halloween. I lived on a smallholding outside of town and trick-or-treating was simply not an option.

As I have gotten older however I have embraced the celebration. Why not? After all it involves candy and a lot of it.

My favourite thing about the holiday is imagination. I love how children truly believe they are fully transformed into a character when in costume. The commitment is priceless. You could stick two socks on either hand, draw on some whiskers and tell them they are kittens with mittens and they would whole heartedly sell the story to any passer by. It is something wonderful.

This recipe will use all imagination and when it comes to the children, I know they will be blown away! If you don’t change after baking then you could go as a ghost as this recipe uses a lot of flour and if you are anything like myself, flour gets everywhere when I bake.


serves 8

Ingredients:

  • 375 grams of butter
  • 1 cup of white sugar
  • 1-teaspoon vanilla extract
  • 3 ½ cups of cake flour
  • ¼ teaspoon salt
  • 60 grams of whole raw pecan nuts
  • Three tablespoons of castor sugar
  • 2 egg whites
  • 1 cup of icing sugar divided into two half cups (one for each colour)
  • Red gel food colouring

Instructions:

Preheat the oven to 180 degrees Celsius

Using an electric mixer with the paddle attachment add your butter and sugar and beat until just combined. Add your vanilla and beat again.

In a separate bowl sift your flour and add your salt.

Add your dry ingredients to your butter and mix on a low speed until the dough starts to come together. It should be a pale yellow colour.

Dust a surface with flour and dump the dough onto the flour. Fold into a ball and wrap in cling wrap. Pop the dough into the fridge and let the butter cool for about half an hour before rolling it out.

Once cooled remove the dough and put it onto flour dusted surface. Using a rolling pin roll the dough out into a rectangle. You want the biscuits to be about a 1cm thick. I have cut mine into soldiers but you can use any cookie cutter shape you would like.

Put the cookies on an ungreased baking sheet or tin (the butter in the recipe will make sure they do not stick)

Bake for 20-25 minutes or until the edges start to brown.
Allow them to cool to room temperature.

Mix ½ cup of icing sugar and one egg white. This will be your white royal icing. Using a brush, paint the cookies white. I gave about 20 minutes between white layers and did three coats. I really wanted to white to stand out.

Let the cookies stand and set for about 5 hours or over night.

In a small saucepan add your castor sugar and a drop of red food gel. If you want you can add a teaspoon of water. This will prevent the sugar from burning. Melt the sugar over a low to medium heat. As the water evaporates the sugar will become sticky and coat the pecan nuts. Remove them one by one and place them on some wax paper to set.

Once your cookies have set mix the other half a cup of icing sugar, one egg white and some red colouring. This is going to be your royal icing for the blood spatter.

Using a whisk flick the red icing over the cookies.

Decorate your cookies with your pecan nuts and leave them to set until the icing is hard.

Happy Halloween!

-Melissa 


Cream cheese and bacon Jalapeños

The one thing I am is proudly South African. I must admit I am not huge into sport but if we are playing I am there in support – love of the game or not. So I decided with it being the Rugby World Cup and The Springboks doing so well, that I needed to do one of my favourite snacks for watching the game. 

This is my version of a proudly South African Chilli Popper.  

If you are reading this and not in South Africa two things 1) you need to come visit because we are a beautiful country and 2) don’t panic, you can still make these with a few adjustments for what ever game you will be watching in the world! 

They are quick to make and you will love them because they are packed with flavour and bringing them out to the celebrations on a platter will make you the star of the day! Just make sure the beer is cold! 


serves 6

Ingredients: 

  • 12 large jalapeño’s- cut in half and pitted
  • 250 grams sweet chilli cream cheese
  • 1 packet of streaky bacon 
  • 250 grams crème fraiche 
  • 150 grams biltong dust (optional if you are not in South Africa) 
  • *Biltong – A south African cured meat, a lot like Beef Jerky  
  • Salt and pepper to taste 

Instructions: 

Preheat your oven to 180 degrees Celsius. 

If you haven’t, cut your Jalapenos in half and remove the seeds (these are the spiciest part, so if you are feeling brave you can leave some in) 

Spoon in your cream cheese into the hallow of the Jalapeno 

Grab a piece of streaky bacon and wrap it around the filled jalapeños. You can secure the bacon with toothpicks. Just remind your guest to remove them before eating! 

Place them on your roasting tray and season them with salt and pepper. Not too much salt as the bacon is already salty. 

Pop them in the oven for 15 minutes and for the last 5 minutes put the grill on the make them golden on the top. 

While they are in the oven whisk together your crème fraiche and biltong powder. 

Serve the poppers fresh out of the oven with cold beer and dipping sauce! 

-Melissa

Homemade Gnocchi with Ragu or Sage Butter

0L8A6039.jpg

Calling all gnocchi lovers!

I have always envied Italian blood or perhaps more specifically being able to cook with your Nona and learn the true Italian way. Italian food is possibly one of my all time favourites!

I am sure you can agree when Julia Roberts eats that bowl of spaghetti in Eat Pray Love that you were never the same again.

I completely lost myself in that moment of the fork swirling the spaghetti and the Neapolitan sauce oozing with rich tomato flavour and of course the slurping up of that perfectly al dente spaghetti. All that was needed was some fresh basil and I would have sold my Kenwood mixer for that moment (not really but pretty close)

Cooking for friends and sharing recipes with them is what inspired me to invite contributors to my blog. I wanted to create a space that wasn’t only a single voice (my recipes and my story)

Combining my love for EVERYTHING Italian (I even drive Italian) and the  approach of a collective experience; I found my first candidate! The beautiful and wildly talented fashion guru Miss Raya Rossi from The Visual Journal!

I can guarantee you that a day cooking with her was filled with laughter and of course a lot of snap chat! You should follow us @melissadelport and @RayaAFF 

We decided that gnocchi was going to be the order of the day. Reason being? It’s so damn hard to make a good homemade gnocchi. I decided to combine our recipes and the outcome? Sheer brilliance. The best part is that we did gnocchi two ways with a simple ragu and a butter sage sauce not to forget our vegetarians out there! You will not go wrong with this recipe!

I also thought I should share the following excerpt from Eat Pray Love because it is one of the truest sentiments I have ever heard.

Liz: I’m in love. I’m having a relationship with my pizza. You look like you’re breaking up with your pizza. What’s the matter?

Sofi: I can’t.

Liz: What do you mean you can’t? This is Pizza Margherita in Napoli, it is imperative to eat and enjoy that pizza.

Sofi: I want to, but I’ve gained like ten pounds. I mean, I’ve got this. . .right here in my tummy, you know this. . .what’s it called? What’s the word for it?

Liz: A muffin top. I have one too.

Sofi: I unbuttoned my jeans like five minutes ago just looking at this.

Liz: Lemme ask you a question, in all the years you’ve ever undressed for a gentleman–

Sofi: —it hasn’t been that many.

Liz: Alright. Has he ever asked you to leave? Has he ever walked out, left?

Sofi: No.

Liz: Because he doesn’t care. He’s in a room with a naked girl. He’s won the lottery. I’m so tired of saying no and waking up in the morning and recalling every single thing I ate the day before. Counting every calorie I consumed so I know exactly how much self-loathing to take into the shower. I’m going for it. I have no interest in being obese; I’m just through with the guilt. So this is what I’m going to do, I’m going to finish this pizza and then we’re going to go watch the soccer game and tomorrow we’re going to go on a little date and buy ourselves some bigger jeans.

P.s If you have not seen Eat Pray Love, you need to do 3 things immediately, rent it, make this gnocchi for dinner and open a good wine!

SALUT!


serves 5

Ingredients:

  • 500 grams mince meat (try get non lean meat as it softens better with the fat but lean will also do)
  • a few good glugs of olive oil
  • 2 garlic cloves finely chopped 
  • 2 carrots grated 
  • 1 teaspoon oregano 
  • 1 teaspoon thyme 
  • 1 bottle Passata (tomato pure in a bottle) 800grams 
  • 1 onion grated 
  • 1 cup parmesan grated 
  • 1/2 a cup of milk 
  • 200 grams butter 
  • half a cup of sage leaves 
  • 800 ml potato (should be about 8 large potatoes) 
  • 4 egg yolks 
  • 2 teaspoons nutmeg 
  • 1 teaspoon lemon rind
  • 150 ml parmesan grated
  • 200-250 ml flour 
  • salt and pepper to taste
  • 1/4 cup course cooking salt

Instructions:

Gnocchi:

Preheat oven to 180 degrees celcius 

Boil the potatoes until soft. Do not over boil them. You should be able to pierce them with a fork but they should still be firm.  
Place the potatoes onto of the coarse cooking salt and pop them in the oven for 20 minutes. 
Allow to cool.
Once cool, cut in half and scoop out the insides and pass through a sieve. The other option is to put the potatoes through a potato ricer like Raya did. 
Form potatoes lightly together and make a well in the middle. 
Put in yolks, parmesan, salt, pepper and nutmeg and lemon rind and work together until combined.
Then add flour. Do not knead the mixture work gently with it. Add the flour in stages until you are able to roll the gnocchi into sausages and cut them into bit size pieces. 
Gently use a fork to make indentations for the sauce to stick. 
POACH the gnocchi in salted water until they float to the surface. Then remove them. This is the secret, do not boil the gnocchi as they will break. 

Ragu Sauce:

Add olive oil, garlic clove salt, pepper, 2 grated carrots, oregano, thyme in a pot on high heat. Add the bottle of passata (tomato puree in glass bottle). Put lid on. Turn to medium heat and leave for 15 mins. 
Grate an onion into a separate pan of hot olive oil and butter.
Cook the onion with salt, pepper and oregano until soft.
Braise the meat with the onion and add more olive oil.
Let the meat cook for 10 minutes.
Add 2 table spoons of passata into the meat for extra flavour.
Once the meat is lightly cooked add it to the passata pot. 
Add a cup full of finely grated parmesan.
This gives it more flavour (without adding more salt)
Let the ragu cook on low heat for another 15-20 minutes. This will allow the sauce to thicken. There should be more meat then sauce. 
Add half a cup of milk, and continue to let cook for another 5 minutes. 

Butter sage:

Fry the butter and sage over a medium to high heat. 
Add the gnocchi. Remove once the butter has browned.
 

Raya's Top Tips:
- Use a carrot to sweeten the passata if the tomato is slightly acidic. 
- Grate your carrots and onions they cook better
- Let your meat soak in the flavour of the tomato - leave it on low for longer. 

-Melissa
 

Jan Harmsgat, swellendam

A quick stop off at Affie Plaas Padstal (a South African road side food stall) A must visit when passing through Robertson for the best homemade pies and treats! 

We also stopped by Mo & Rose. A beautiful guest house, wine bistro and succulent garden! I have never seen such amazing succulents and of course the wine wasn't too bad either! 

0L8A9447.jpg

Arriving at Jan Harmsgat

The Truffle journal was founded out of nostalgia. I think there is something truly special about tradition and history. To honour it and embrace it in this day and age is remarkable.

A favourite pastime of mine is to seek out places that flip the switch. If you don’t know what I am referring to; let me explain. The proverbial ‘switch’ of life that has us scurrying about our daily lives without much thought. The incessant hum drum of city living, the buzzing of technology and the crescendo of mental noise in the fast lane.

I love to find places that simply turn it all off. That make you take a step back, relax and breathe in the fresh air.

Places that make you want to go to bed early and wake up with the sunrise.

One such place that embodies the spirit of the coveted weekend getaway in comfort is nestled between Swellendam and Robertson. Simply called Jan Harmsgat, this five star establishment oozes history and takes visitors back in time in style. Rated 5 stars by the tourism grading council this historical country house offers fine dining and ultimate luxury.

The hospitality is genuine farm style and everything is done with a smile. Most of the staff have been there for more years than I care to count and are proud to call Jan Harmsgat home.

The farm was established in 1723 and every nook and cranny is filled with a story to tell. The homestead speaks of the quality and craftsmanship of a by gone era, where every detail and accent was hand made. Filled with antiques the country house is true delight!

I was lucky enough to be invited to attend a 5-course wine pairing recently and sampled the various wines that are being produced by the estate.  

The estate currently has 5 wines namely Sauvignon Blanc, Chardonnay, Shiraz, Cabernet Sauvignon and Pinotage. All of which were paired with perfect complimentary flavours on the evening. To say that I was impressed by the experience would be an understatement.

The farm also boasts magnificent pecan nut trees and there is no shortage of fresh nuts! A real delight to sit around the fireplace wrapped in warmth having a glass of wine and nibbling at freshly cracked pecans!

Whether you choose to explore the local area of your getaway or prefer to stay in, Jan Harmsgat is definitely worth checking out (and in).

-Melissa