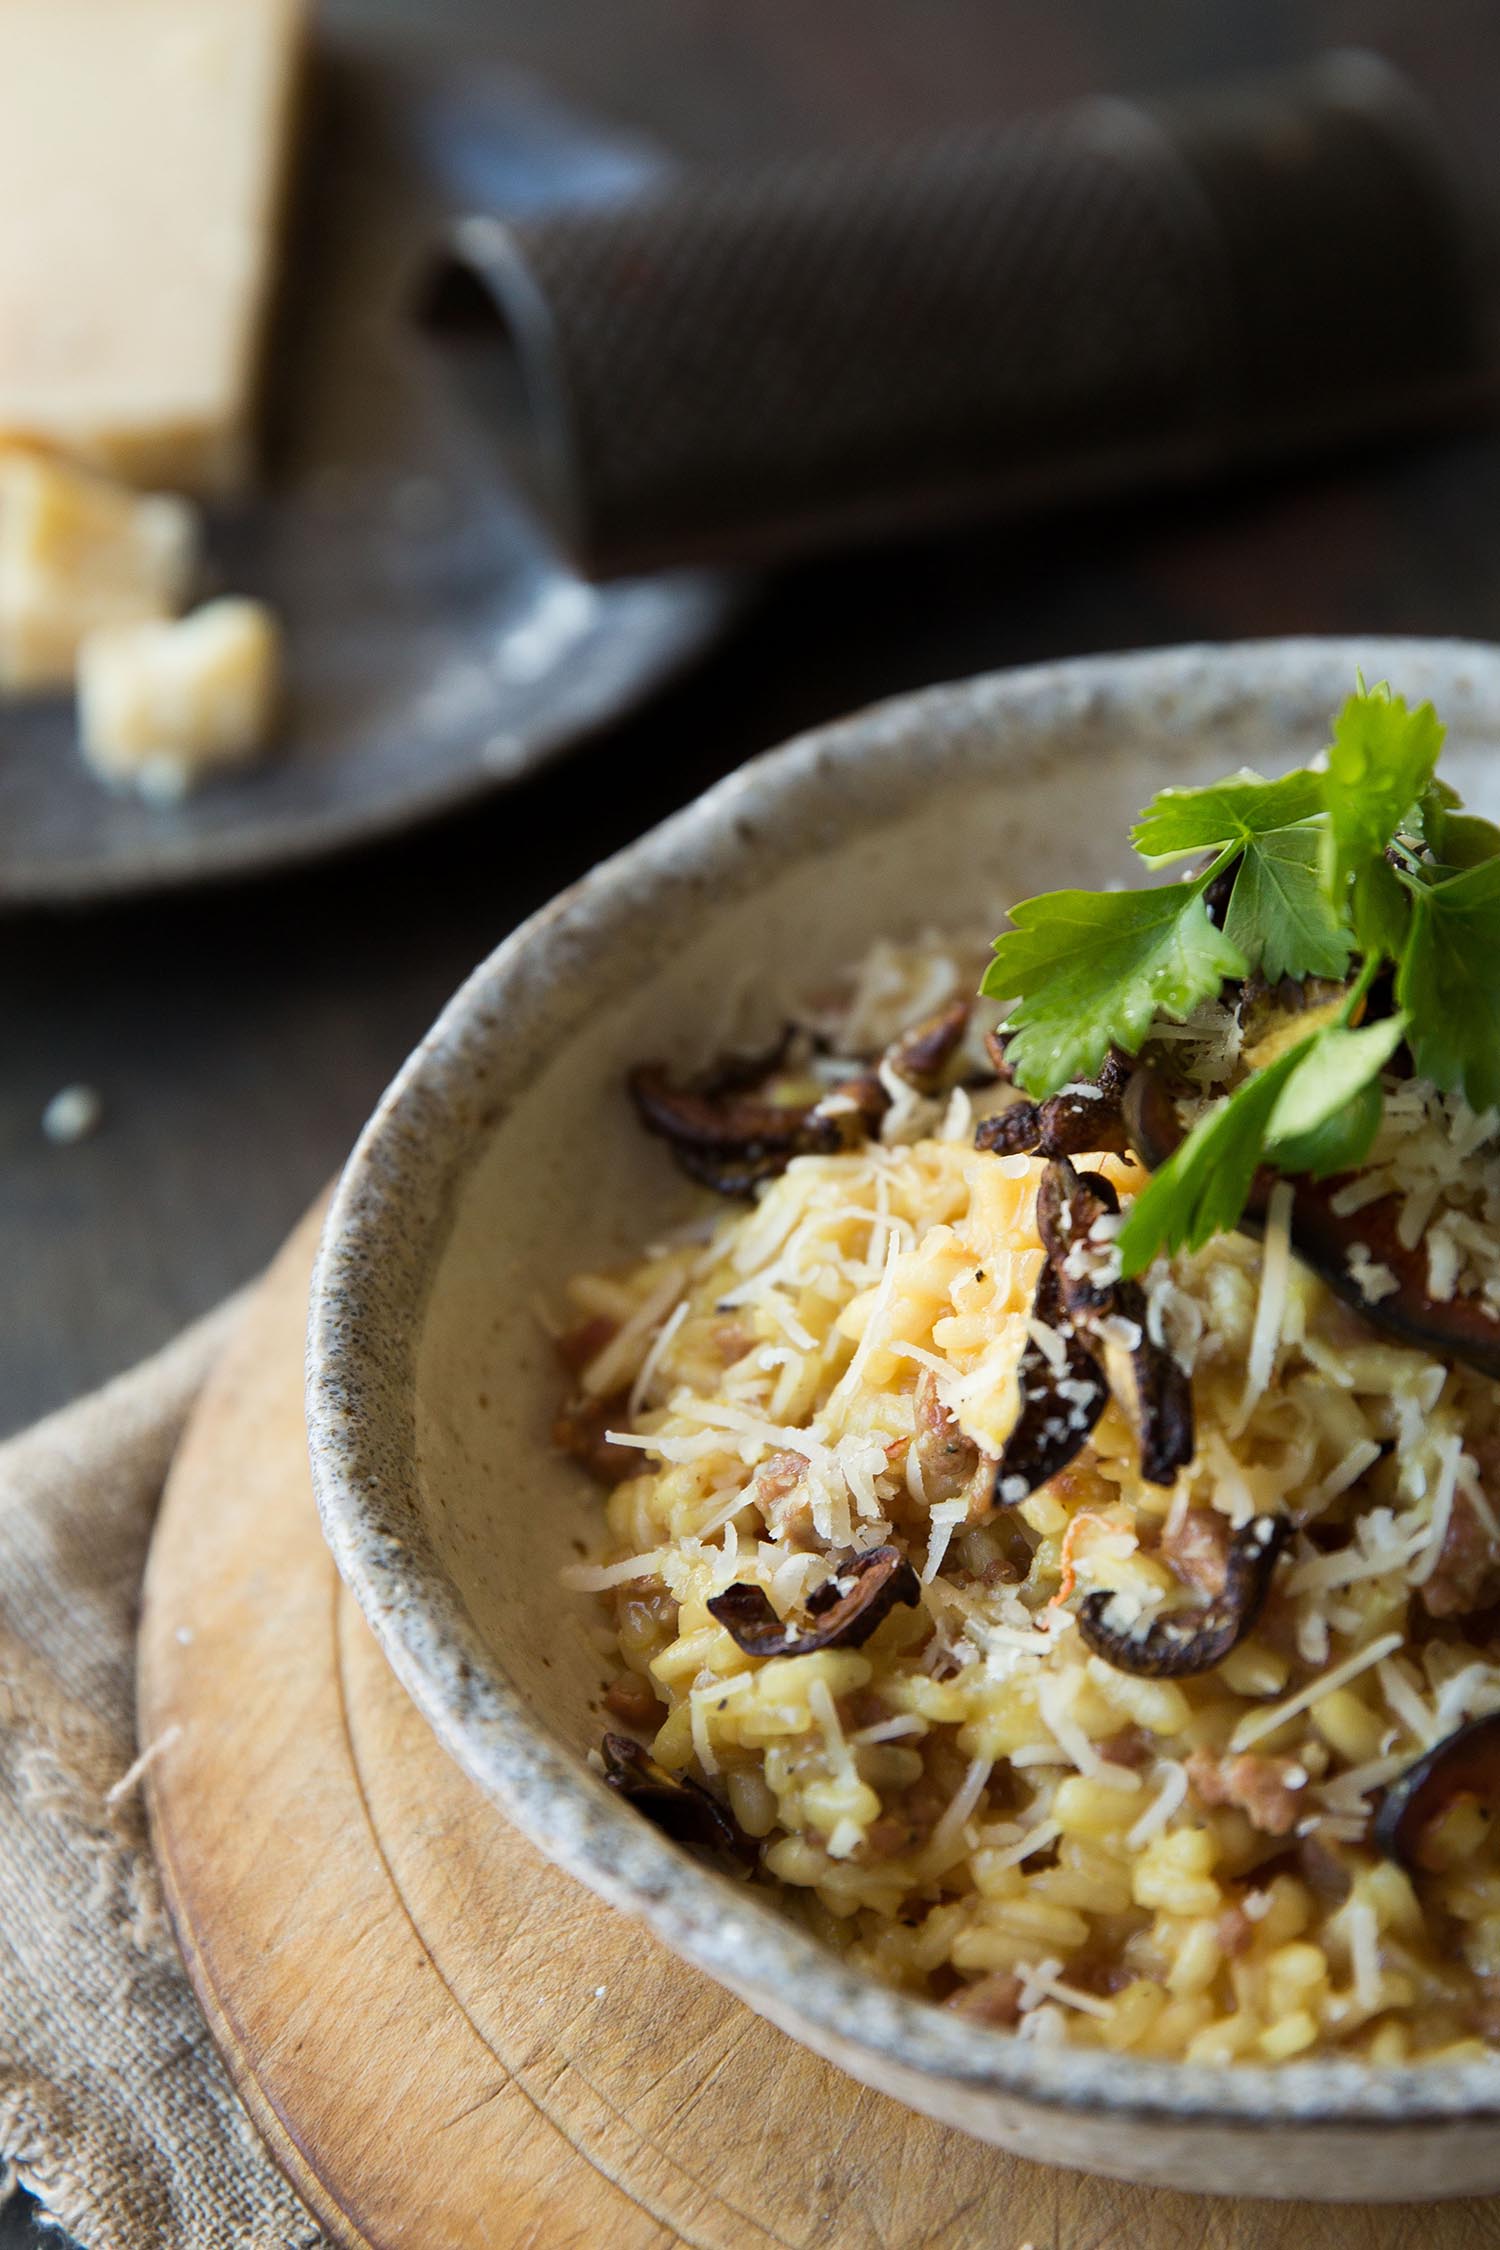
Risotto salsiccia funghi

Risotto salsiccia fungi

I met Maybe Corpaci a few years ago, when I was adamant that I was going to be a fashion photographer. Yes you heard me! Just two years ago I would never have thought (in my wildest dreams) that my career path would end up in food. 

Maybe worked at the wildly popular and very well known Elle magazine South Africa. I was a photographic assistant to the incomparable fashion duo, Elford De la Foret at the time and surprisingly, Maybe and I connected over food. 

In retrospect, I should have already known then that the stars were aligning into a shape of a crockery pot. Needless to say, all these years later; Maybe and I decided to do a little cook for you. 

Maybe is a fiery Italian women that is fearlessly beautiful and knows her way around the kitchen. When I asked her what we would be cooking, a singular booming word was the reply, Risotto!

Now, I might be many things, but certainly not one to argue with an Italian who wants to cook the elusive risotto and show me the ropes.

So here it is. 

Believe it or not, I over salted it at the end; so watch out for that. The salsiccia sausage and the broth both have plenty of salt, and coupled with the Parmesan, leave the dish perfectly seasoned.

A rookie error on my part, never to be repeated.

However, having said that, allow your guests to season for themselves if they are so inclined, but caution them accordingly.

A simple, "Put down the salt Grandma!" should suffice.


Ingredients:

  • 1 small onion, chopped 
  • 2 tablespoons olive oil 
  • 150 grams salsiccia sausage 
  • 1 cup risotto
  • ½ a cup of white wine  
  • 1 liter beef broth 
  • 1 teaspoon saffron 
  • 4 wild mushrooms (shitake) sliced. 
  • 3 knobs of butter 
  • 40 grams of Parmesan cheese 

Instructions: 

Chop the onions finely and add to a casserole pot with your olive oil and soften. Make sure the pot has a lid. 

Remove the sausage from the skin and break it up with your fingers. Add it to your onions and fry until golden brown. 

Add the risotto and fry on a medium to high heat until the grain becomes slightly translucent. 

Add ½ a cup of white wine and cook for 2-3 minutes. You want the alcohol to evaporate. 

Add your beef broth one ladle at a time. Keep stirring. As the liquid absorbs add more broth feeding your risotto. Your cooking time should be 15-18 minutes. 

At the 13-minute mark add a tablespoon of broth to the teaspoon of saffron in a separate bowl. Let the saffron steep for 3 minutes. Add the saffron to the risotto. 

Slice the mushrooms and fry with a little butter in a separate frying pan over a high heat until golden brown. 

Add the mushrooms to the risotto and fold through. Remove from heat and pot the lid on the casserole. Let the risotto sit for 3 minutes before serving.

-Melissa

Earl grey and honey milkshakes

Earl grey and honey milkshakes

These milkshakes are inspired by one of my favourite ingredients of all time, honey.

I add honey to almost everything! You can use it in your tea, mix it in salad dressings and even add it to pizza! Yes, I said pizza. The saltiness of the bubbly cheese mixes so well with the sweetness of honey – its absolute perfection! Don’t even get me started on the health properties of honey. The list is too long to mention here but to give you an example; recently it’s proved a lifesaver in our home as a soothing throat and flu remedy (hot toddy alert!) 

You would be hard pressed to find a bigger fan of this versatile product from nature.

I partnered up with Woolworths to share these decadent Earl grey and honey milkshakes with you because, well, who said milkshakes are exclusively for summer? 
Or perhaps you need to bring a boy to your yard, pronto!?
Everyone knows a sure fire way to achieve the latter is through milkshakes.

I leave you with this parting thought from the only other honey fan that is more obsessed than I. 
The incomparable Winnie-the-Pooh.

“Well," said Pooh, "what I like best," and then he had to stop and think. Because although Eating Honey was a very good thing to do, there was a moment just before you began to eat it which was better than when you were, but he didn't know what it was called.” “Well," said Pooh, "what I like best," and then he had to stop and think. Because although Eating Honey was a very good thing to do, there was a moment just before you began to eat it which was better than when you were, but he didn't know what it was called.”


Ingredients:

Serves 2

  • 2 earl grey tea bags
  • ½ a cup of boiling water
  • 2 tablespoons of honey 
  • 1 ½ cups vanilla ice cream
  • 1 cup milk
  • ½ a cup of cream
  • Whipped cream to top
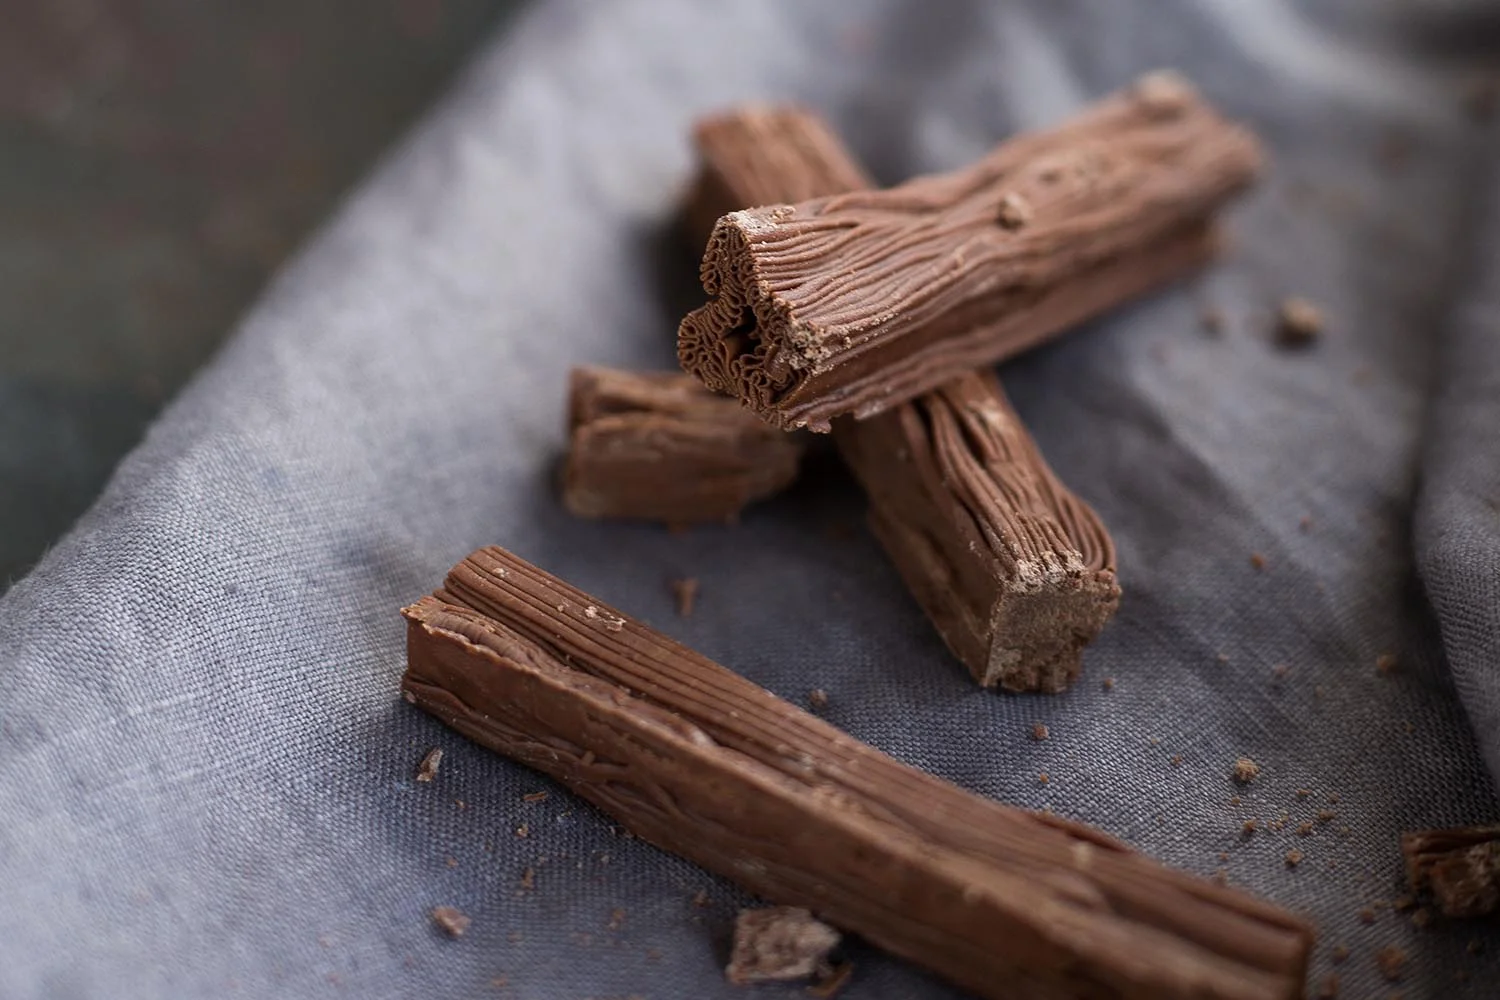
  • Chocolate to decorate
  • Honey to drizzle


Instructions:

Add the tea bags to the boiling water and let seep for 4 minutes. No longer as the tea will become bitter!

Add the honey and stir. Let the tea cool. You can add two blocks of ice to speed up the process.

Blend together the tea, ice cream, milk and cream until light and frothy.

Serve topped with whipped cream, chocolate and a drizzle of honey!

-Melissa 

*This blog post is sponsored by Woolworths all opinions are my own

Vegetarian Lasagne

Vegetarian Lasagne
Vegetarian Lasagne
Vegetarian Lasagne
Vegetarian Lasagne
Vegetarian Lasagne
Vegetarian Lasagne
Vegetarian Lasagne
Vegetarian Lasagne
Vegetarian Lasagne
Vegetarian Lasagne
Vegetarian Lasagne
Vegetarian Lasagne
Vegetarian Lasagne
Vegetarian Lasagne
Vegetarian Lasagne

I am all about the cheese. As in ALL about the cheese. If anything goes wrong in the kitchen, I am a firm believer that all you need to do to correct a culinary calamity is to add cheese on top to solve the problem. 

Now when it comes to lasagna, I have a passion for the corner piece (as I am sure most of you do!) 
You know what I am talking about right? The gooey, crunchy, bubbling corner piece that definitely hosts more cheese than the rest of those pitiful landlocked slices. 

I am prepared to fight to the death for it.

The amazing thing with this lasagna is, not only is it vegetarian (meat eaters fear not) but it is also (in my mind) guilt free. 
Layered with fresh vegetables and topped with the perfect cheese crust, this recipe will blow your mind. 
It is a labour of love. 

Dubbed by a close friend of mine as the Lasagn-YOH (who also generously shared the recipe with me), its name is as fitting as the casserole dish it’s baked in.
I say generously because this dish is a game changer. A blessing. 
For those of you who don’t know, YOH is South African slang, used when a person is rendered speechless, a word that summarizes the gravity of an overwhelming experience.

Practice saying it out aloud now. Yoh.
There is no use fighting it – it’s exactly what will happen.


Serves: 6

Cook time: 2 hours 30 minutes 

Ingredients:

  • Coconut oil (olive oil if you don’t have)
  • 1 red onion, chopped
  • 2 garlic cloves, finely chopped
  • 3 sprigs of thyme (twigs removed)
  • 700 grams of Rosa tomatoes, halved
  • 700ml or 1 jar of tomato purée
  • 50 grams of basil chopped
  • 1 large butternut, peeled and chopped
  • 1 teaspoon butter
  • 400 grams potabellini mushrooms, sliced
  • 2 sprigs of rosemary (twigs removed)
  • 250ml cream
  • 1 large aubergine
  • 200 grams Swiss chard, roughly chopped
  • 1 lemon, zested
  • 300 grams fresh ricotta cheese
  • 250 grams egg lasagne
  • 450 grams of mozzarella
  • Parmesan cheese to serve

Instructions: 

Preheat the oven to 180 degrees Celsius.

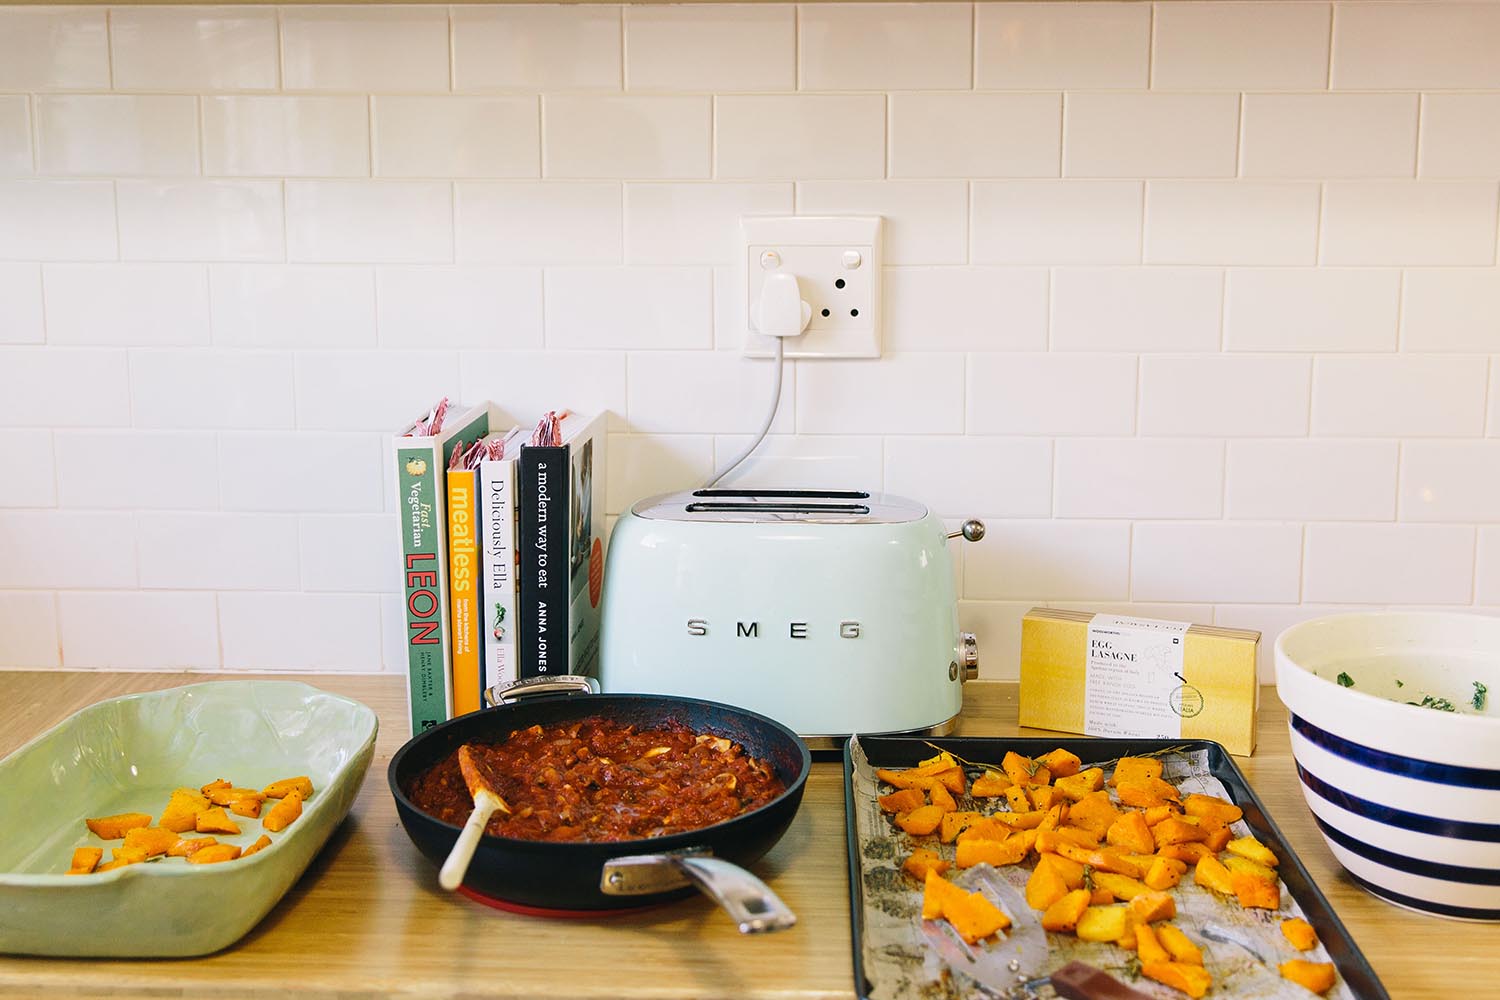
In a large pot over a medium heat, add a tablespoon of coconut oil, the onion and the garlic and fry until soft. Add the thyme leaves and the tomatoes and fry until soft. Add the tomato purée and basil, let simmer. The longer the tomato sauce simmers the more the acid reduces and the sweeter the sauce, so the longer the better. I let mine simmer on a low heat for almost two hours if I can. Season to taste.
 

Put the butternut on a roasting tray and lightly coat in a half a tablespoon of coconut oil. You don’t want too much oil. Just enough so that it is covered. Add salt and roast at 180 for 35-40 minutes or until soft when you poke it with a fork. When it is ready remove from the oven but keep the oven on to bake the dish at the end.
 

In a small frying pan over a medium to high heat add the butter and a dash of oil (this stops the butter from burning.) Do not add to much as you don't want to boil the mushrooms. Add the mushrooms and fry until they are golden brown. Once they start to brown add the rosemary. Once ready add half the cream to the pan. Let simmer for 1 minute, remove from heat and set aside.

Slice the aubergine into half a centimeter thick disks. In a large frying pan over a high heat add half a tablespoon of coconut oil. Once hot add your disks. Aubergine tends to suck up the oil. Don’t panic if they need add a little more oil (don’t over do it, they will fry up). Fry each side for about 3 minutes or until golden brown. Set aside.

In a large mixing bowl add the Swiss chard and lemon zest. Using your hands crumble the ricotta into the bowl and toss with the Swiss chard.

Almost there! Now you just have to put all the layers together

You are going to assemble the lasagne in a large lasagne dish. 

Add your butternut to the dish. I squish my butternut down to make a compact flat layer. Top with four ladles of tomato sauce. Add the lasagne by lining them up next to each other. You are not wetting the lasagne before cooking. It will cook out when you bake the dish.

Add the mushrooms on top of the lasagne. Smooth out to all corners of the dish.

Add the spinach on top. Pack it down and get as much in as you can. It wilts when you bake it.

Add another layer of lasagne.

Add your fried aubergine on top of your lasagne. Assemble it so that it makes a full layer.

Cover with the rest of the tomato sauce. Pour over the rest of the cream.

Slice the mozzarella into disks, enough to cover the entire top of the lasagne. Don’t be shy and make sure you don’t miss a spot! Remember the cheese will spread as it melts! Grate some parmesan over the top. 

Bake at 180 degrees Celsius for 35-40 minutes. Keep an eye on your cheese as you don’t want it to burn but you do want it crunchy!

-Melissa 


Citrus, Fennel and Avo salad

Citrus, Fennel and Avo salad

I am not a big believer in taking artificial vitamins. In fact I don’t take them at all. When it comes to vitamins I believe in turning to real food. Food can have amazing medicinal properties in its purest form! Why not opt for fresh fruit that is packed with healthy vitamins rather than swallowing a pharmaceutical (the size of a horse tranquilizer) that claims to have all the supplements your body needs?

Mmmm I’m not convinced. With winter banging down the door and our bodies needing extra support, this dish is one for the whole family to keep their bodies strong. 

One of the most effective cold and flu fighters is Vitamin C. 
I paired up with Woolworths on an exciting dish that is packed with this winter warrior and bursts with the fresh flavour that so many of us crave after weeks of consuming bowls of stew brimming with meat and potatoes. 
Woolies have such a great variety of fresh citrus in store. This salad pairs perfectly with a delicious fresh piece of fish, which will offer you protein, vitamin D and omega-3 fatty acids.


Ingredients:

Dehydrated Orange:

  • 1 orange halved and thinly sliced, about 4mm

Salad:

  • 4 oranges, peeled
  • 2 grapefruit, peeled
  • 75 grams pomegranate seeds
  • 1 fennel bulb, thinly sliced (do not use the leaves)
  • 3 avocado
  • 6 sprigs of mint

Dressing:

  • 2 tablespoons olive oil 
  • 1 tablespoon apple cider vinegar
  • 1 tablespoon honey
  • 1 small lemon, juiced 

Instructions:

Preheat your oven to 100 degrees Celsius.

Place the thinly sliced oranges on a cooling rack and pop them in the oven for 1 hour. Keep an eye on them as this can vary due to slice thickness and oven accuracy. You want them to still be tacky but crisp!  

Using a sharp knife segment your oranges and grapefruit. Remove the membrane from each individual piece. Put the segments in a bowl. Don’t be too rough with them, as all the juice will escape!

For this recipe I used the Woolworths pomegranate seeds (A lovely cheat!)

If you bought your pomegranate whole, cut the top off and score 2cm down the side. Get a big bowl of water and crack the pomegranate open under the water. This will help with the mess. Release the seeds from the compartments. Once done, the seeds will sink and the husk will float! Set the seeds aside.

Peel and slice your avocados. Drizzle with lemon to prevent browning.

On a large platter you are going to layer your salad.

This salad does not do well tossed, as it will become too soggy. Layer your citrus and your fennel with your avocado and pomegranate and top with your mint leaves and dehydrated citrus chips for decoration!

For the dressing, mix all the ingredients together and drizzle just before serving!   

Serve with a prefect piece of fresh fish!

-Melissa 

*This blog post was sponsored by Woolworths. All opinions are my own.

Orms Makers Series

July has been an exciting month for collaborations. On one of these “get togethers”, I paired up with Orms for the #ormsmakersseries. A crew followed me around on a Saturday food mission documenting The Truffle Journal’s creative process by way of a video journal while I played with the Fuji XT1; A mirrorless camera that packs a punch. What a pleasure! It turned out to be much lighter than my usual DSLR and I struggled to put it down. 

Here is the finished vid.

-Melissa