fresh infused waters

0L8A8905m.jpg

There is one thing I know for sure hydration is key. You can dress it up any way you would like but water truly is the wine of the gods. This being said I know I never drink enough water. Especially come winter and its freezing cold.

I spent the day cooking with a dear friend of mine sharing recipes when we got chatting about the lack of hydration in my life. She suggested I give these combinations of flavored waters a try. We made them early in the morning and photographed them then got to cooking. That evening when we were done we realised we hadn't had any water the whole day! The irony was all a bit much. Needless to say having had the day to infuse with their amazing flavours these waters were a major success and beyond delicious.

I can assure you that if all your waters looked and tasted this good you would be gulping them by the gallons! They are so easy to make and you can get completely creative. I will of course let you know what combinations we used but below are a list of fresh ingredients you can use and what health benefits they have 

Berries: these little jewels are huge anti oxidants that help your body fight free radicals caused by stress. Getting rid of them can stop major illness in the body!

Ginger: this marvelous ingredient has several health properties. It is a wonder in treating nausea and morning sickness, it can lower your risk of heart disease, aid exercise induced muscles pain and menstrual pain and it can even aid digestion. Just to name a few! 

Mint: can aid ingestion or an upset stomach and its wonderful flavour can be combined with most other fresh ingredients 

Lemon: high in vitamin c this citrus fruit is amazing for colds, rejuvenating skin cells and can even aid weight loss. 

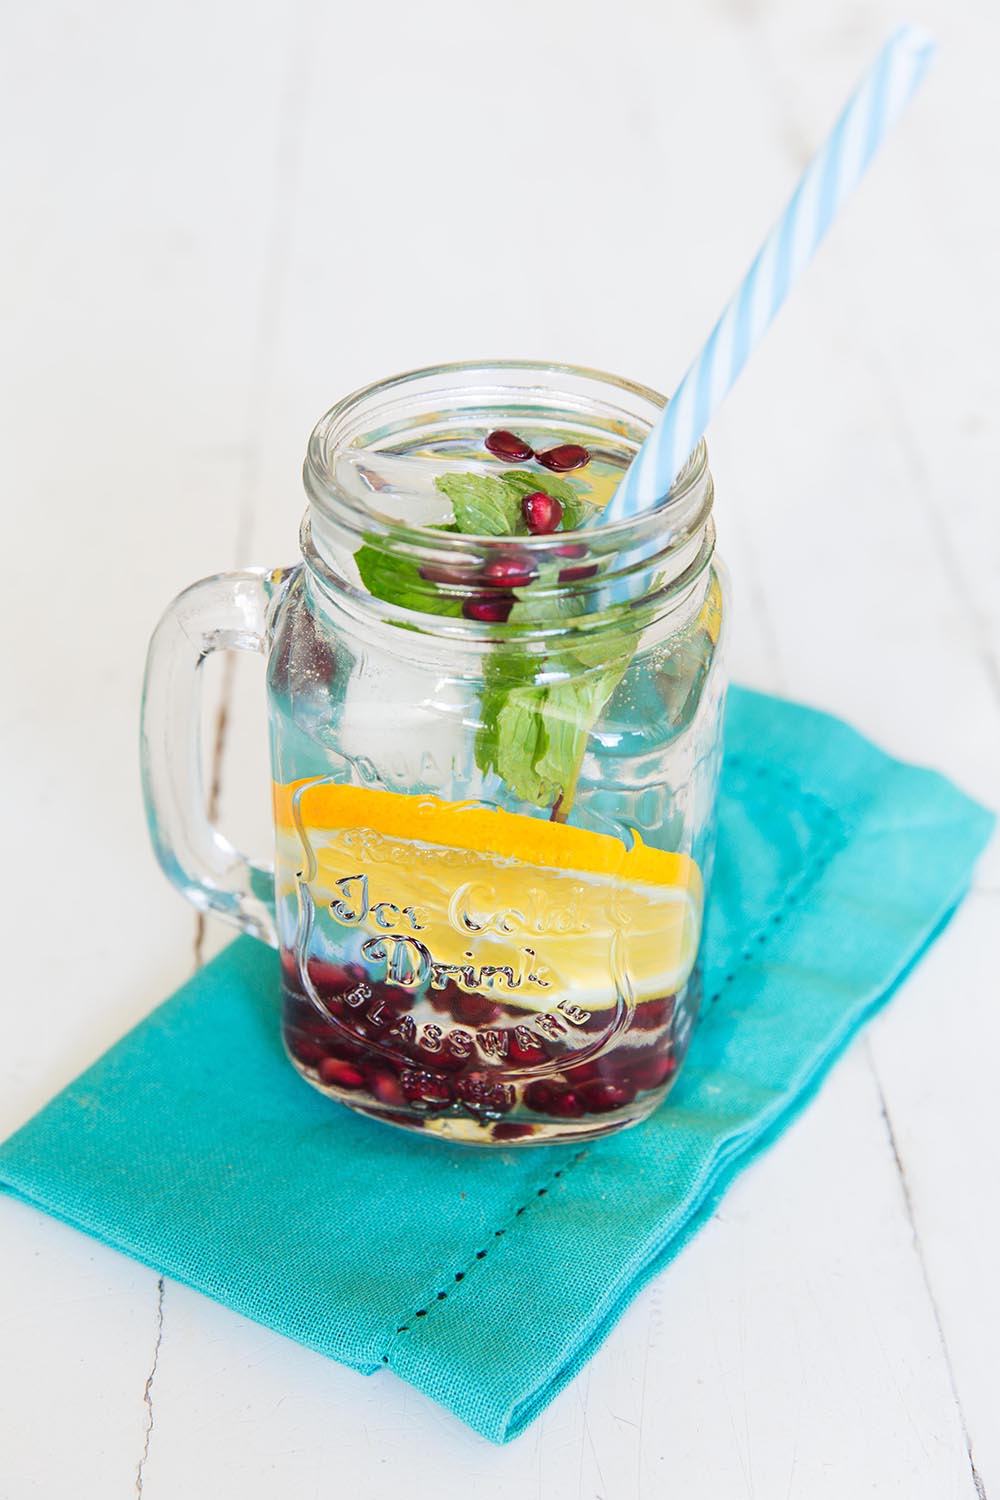
Pomegranate: this amazing fruit is known as an antioxidant rich fruit. The seeds are sweet and wonderful to add to anything. You can also put them into your ice tray and make pomegranate ice. It looks beautiful and is so healthy for you! 

Cucumber: these amazing fruits-yes I said fruit is filled with multiple vitamins B such as B1 B5 and B7. It can aid in reducing anxiety and stress and so very good for digestion. 

Lemon grass: don't be fooled by its hard exterior, once cut and its flavours release. Lemon grass is wonderful for stomach ache, high blood pressure and can aid rheumatism. 

I have used several ingredients in different combinations and amount. Play around with them and with the fruits that are in season. The longer you leave them to infuse the better they taste. if you use fresh ingredients the flavours are even stronger and most of the time all you need to do is top up on the water before the fruit goes off. 

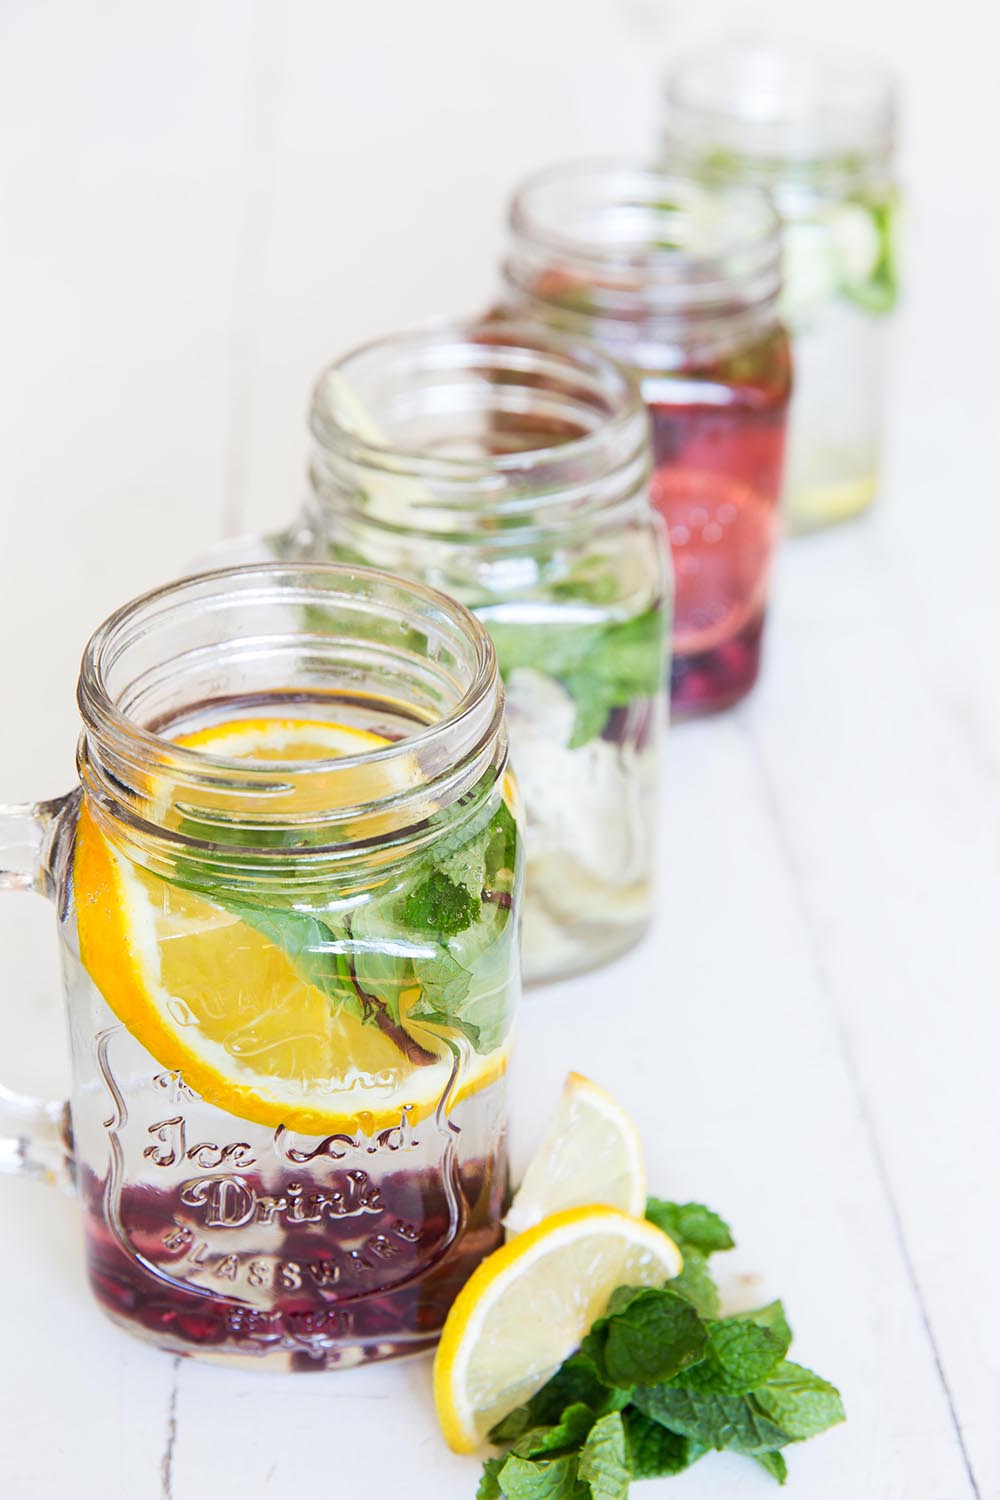
so here are the combinations I’ve used: 

•   Pomegranate, mint and orange 

•   Cucumber, mint and lemon

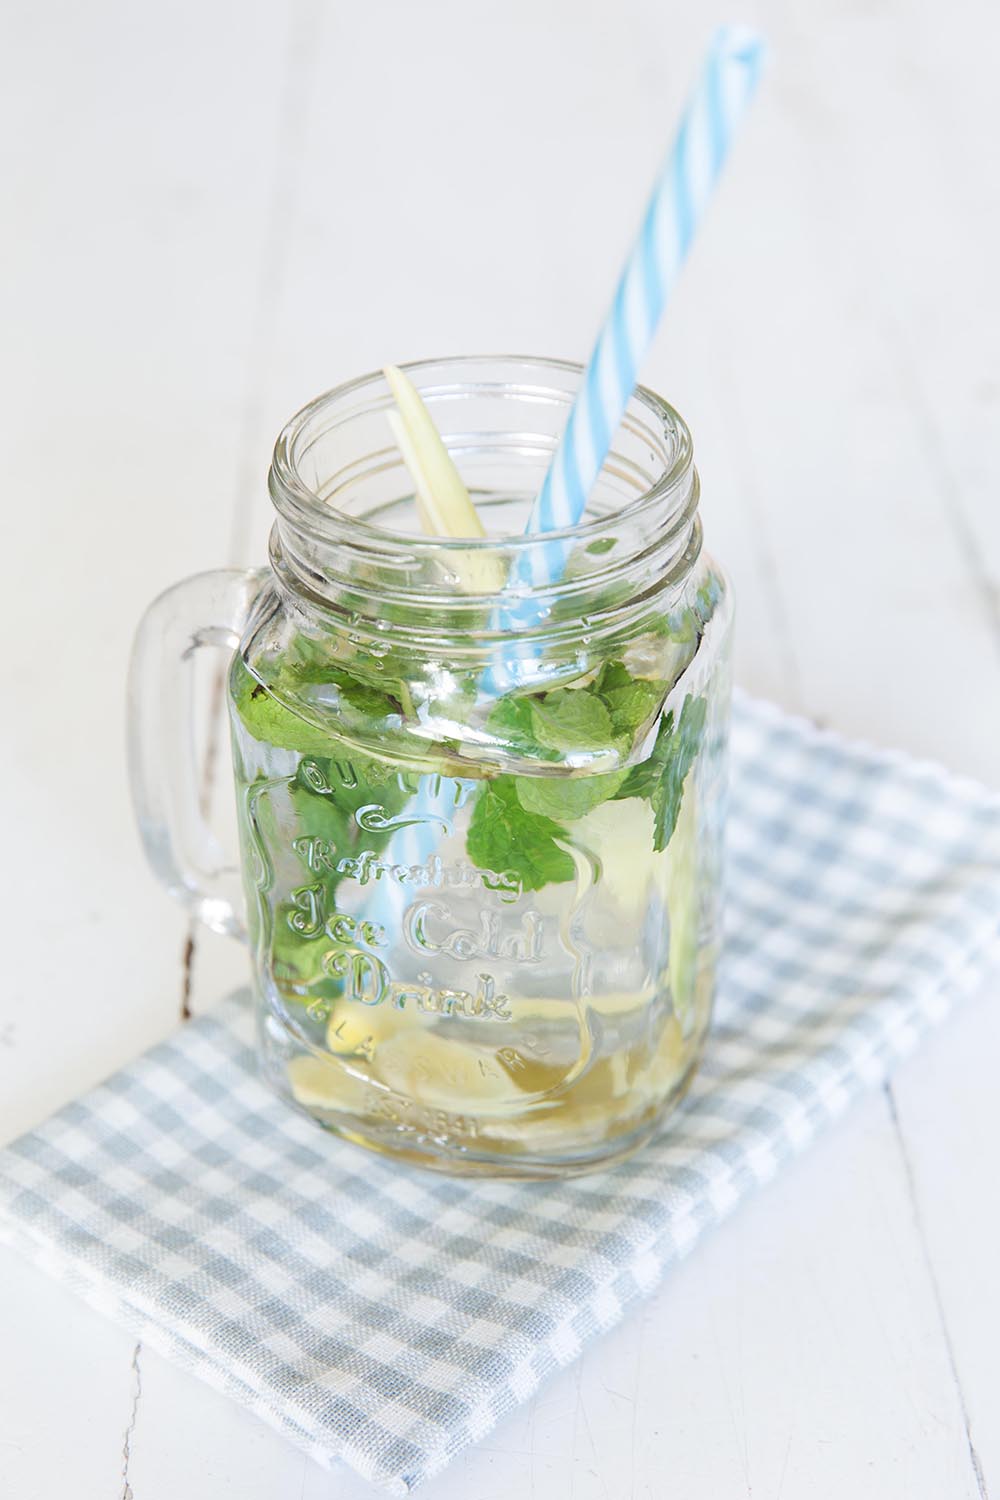
•   Lemon grass, ginger and mint 

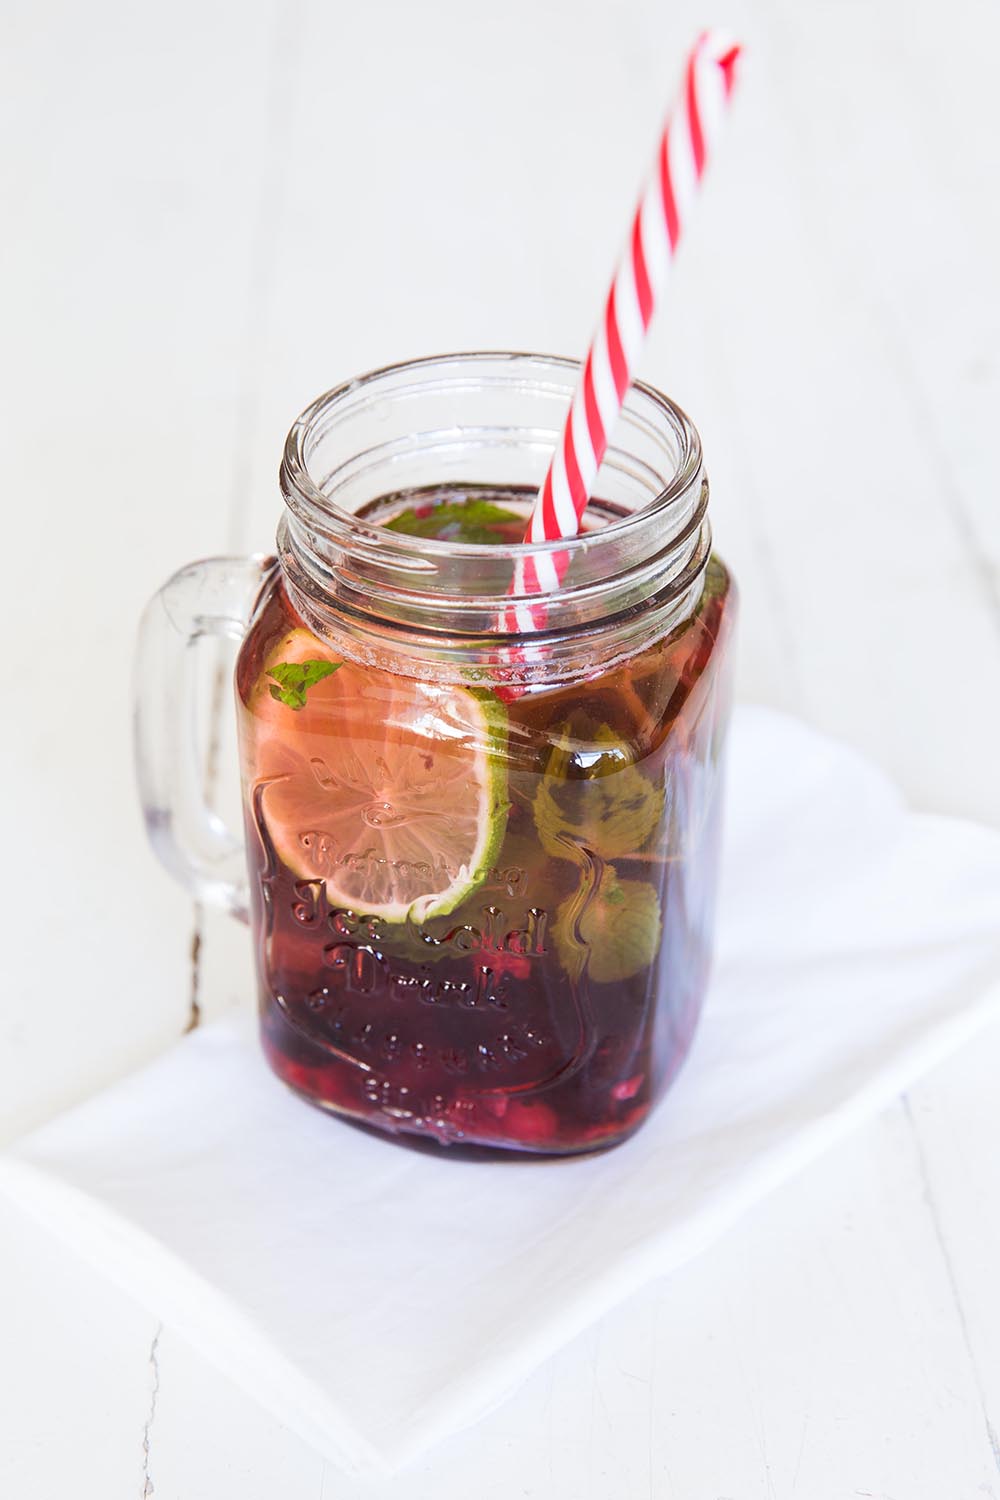
•   Lime mint and berries (strawberry, blackberry and raspberries)

You can add any fruit that you like from oranges and limes, cinnamon and apple even pineapple and rosemary!

Just chop them up to release all the flavours and add them to your water jugs. Let them stand in the fridge for a few hours or even over night! 

Keeping hydrated is good for your digestion, hangover, skin and so much more-so drink up!  

-Melissa


Easter Ring - A Legacy of Flour and Tradition

There is something truly sacred about growing up in a family that honours tradition. I count myself incredibly lucky to have a mother who, no matter how busy life became, always carved out time for the little moments—the kind of moments I will now cherish forever.

Whether it was the scent of spices on Easter morning or the ritual of decorating our Christmas tree, I grew up at her knee. She taught me not just how to bake, but how to become the woman I am today. She is my best friend, my rock, and a true connoisseur of flavours. In many ways, she is the birthplace of The Truffle Journal and my entire culinary life, unless, of course, I look even further back to my grandmother.

Tradition is a value I hold dear and one I am so hopeful to share with you. Those magical mornings spent baking Easter rings or setting up the Osterzweig (a beautiful German tradition of hanging eggs on branches) are etched into my memory.

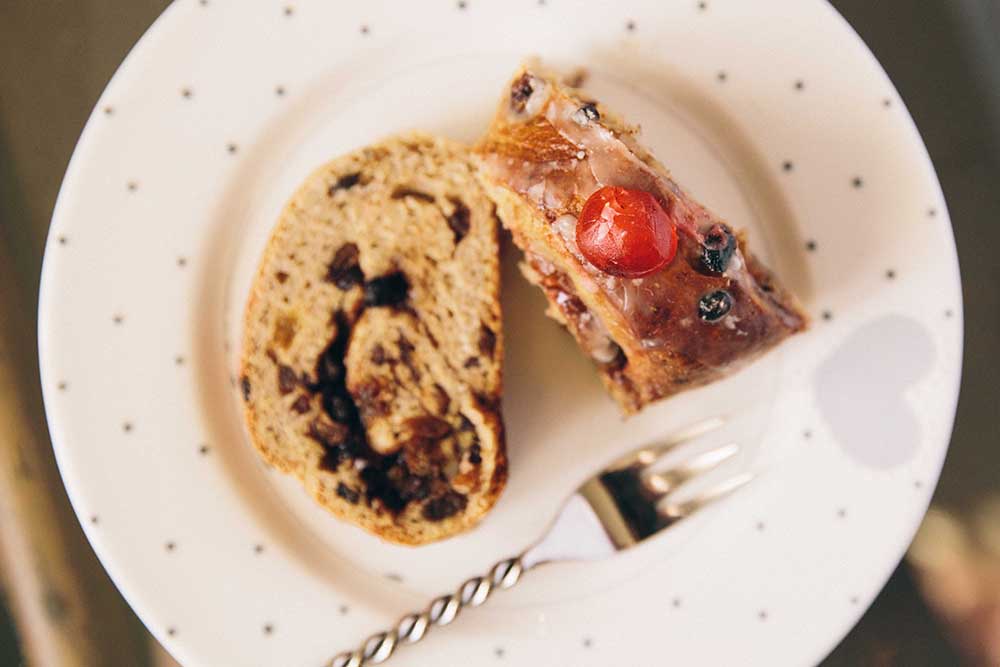
I hope that by trying this recipe and sharing it around a table with your loved ones, you feel inspired to create your own yearly rituals. This Easter Ring is essentially a "glorified" hot cross bun meets a cinnamon roll, a total game-changer for your holiday table.


Serves: 8

Ingredients

The Dough 500g flour, sifted
5ml salt
55g sugar
10ml ground mixed spice
10ml ground nutmeg
5ml ground cinnamon
10g instant dry yeast
60g butter
150ml milk
1 egg, beaten
125ml lukewarm water
150g cake fruit mix

The Filling
80g butter
60g castor sugar
30ml cinnamon
180g cake fruit mix
1 egg
12.5ml milk

The Icing
85g icing sugar, sifted
15ml water (or brandy, for a festive kick)
5ml vanilla essence


The Process

In a mixing bowl, combine the first six dry ingredients. Once combined, sprinkle the dry yeast over the top.

In a small saucepan, melt the butter into the milk. Once melted, set it aside to cool slightly.

Combine the dry ingredients and the fruit mix with the egg and the milk-butter mixture. Slowly add enough lukewarm water until it forms a soft, pliable dough.

You can use a stand mixer with a dough hook for this part. Knead for 10 minutes until the dough is smooth and elastic. It should not be too sticky; if it is, add a tiny bit of flour until the dough feels balanced.

Lightly flour your counter and place the dough on the surface, covering it with a greased glass mixing bowl.

Allow the dough to rest in a warm environment for 20 minutes. I often leave my oven on low to warm the kitchen or place the dough in a sunny spot.

Once rested, roll the dough out into a rectangle roughly 35cm by 25cm. Be sure to flour your surface so it doesn't stick.

For the filling, cream the butter and sugar together in a small bowl. Spread this mixture all over the rectangle as if you are buttering toast.

Sprinkle the cinnamon over the butter and top evenly with the fruit mix.

Starting at the long side, tightly roll the rectangle up like a Swiss roll.

Place the roll onto a lightly greased baking tray and shape it into a ring, joining the ends.

Score the ring into 5cm slices using a sharp knife, keeping the slices joined near the inner circle.

Cover with greased cling wrap and leave in a warm place for a further 10 minutes, or until the ring has doubled in size.

In a small jug, mix the egg and milk to create a wash. Brush this gently over the ring after it has risen.

Bake at 200°C for 20–25 minutes until the ring is golden brown. If you tap the base and it sounds hollow, it is ready.

Allow the ring to cool completely.

For the icing, mix the icing sugar with the water (or brandy) and vanilla until perfectly smooth and free of lumps.

Drizzle the icing over the cooled ring. When it comes to this part, I always say: don’t be shy!

You can decorate the finished ring with glacé cherries if you wish.

-Melissa


rainbow meringues

This recipe takes me right back to being a child. I received this recipe form my grandmother in a little pink book, put together by all the ladies that went to church with her. The recipe is the best I have yet to taste on meringue, as it doesn't have that jaw aching sweetness due to the vinegar. I remember making it when I was younger and being so proud of my whipped egg whites.

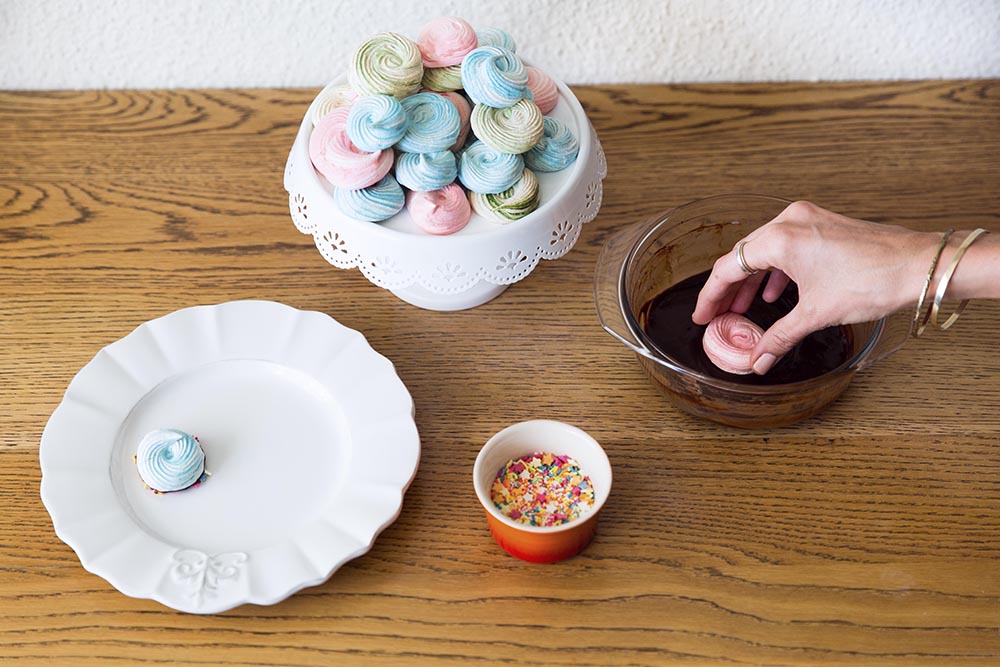
As I have gotten older I have played more with the recipe and these beauties are the result. They are fun and interactive and a great idea for children parties or for the adult who believes in unicorns. I had a lot of fun making these with my friend Nikita who was so kind as to hand model the dunking of the meringues. They are little mouthfuls of colour and super easy to make! This recipe can also be doubled should you need more!


serves: 6

ingridients:

  • 1 egg white
  • 2 Tbsp boiling hot water
  • 1 cup castor sugar
  • 1 tsp white vinegar
  • 1 tsp baking powder
  • powder food colouring
  • 80g dark chocolate
  • 60ml hot milk
  • sprinkles of your choice

Instructions:

Preheat the oven at 100°c

Line a flat baking tray with baking paper and set aside

Beat the eggs white on high speed with an electronic mixer. As they start to stiffen add the cup of sugar followed by all the ingredients except the baking powder.

Once the egg whites are stiff add the baking powder.

At this stage is when I separate the egg whites into different bowls. Sprinkle the colouring into the individual bowls. Don’t mix the colouring in as you will beat out the air of the egg whites.

Get your piping bag ready. Using a star nozzle and holding your piping bag open, gently scoop the first colour into the piping bag. Gentle squeeze out the meringues mixer into swirls the size of a teaspoon. Working neatly and in rows.

Once you have finished the first colour, wash the piping bag with hot water and repeat with the next colour. Make sure the piping bag is clean and dry.

Once you have piped out all the different colours into neat rows put them into the oven and bake for 2 hours.

Dipping chocolate:

Place a small bowl on top of a pot of boiling water. Make sure no water can splash into the bowl. Add the chocolate by breaking it into small pieces. The steam will gentle melt the chocolate. Keep stirring it until you have a smooth consistency. Then add the hot milk. The milk must be hot or you can seize the chocolate. Once it is all combined remove from the heat and allow to cool slightly.

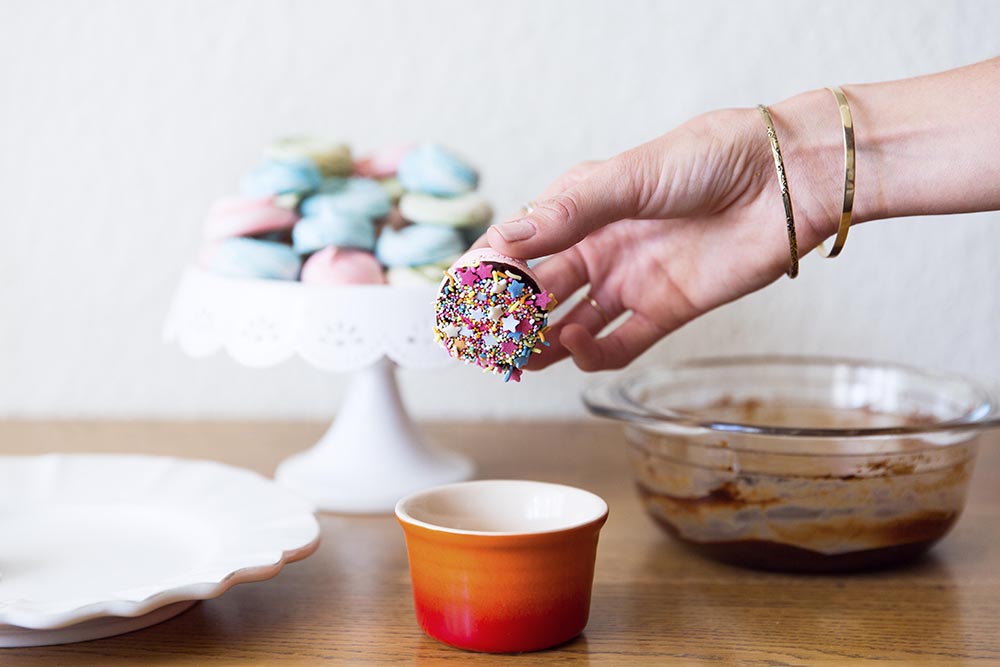
Once your meringues are out of the oven and cooled, dip the bottom end of them into the chocolate, followed by the sprinkles. Place them on a cooling rack upside down so that the chocolate can set.

If you want you can also dip the meringues in chocolate and match them up to another in size. Sticking them together and making meringue sandwiches. Roll the meringue sandwiches in the sprinkles and let them stick to the side of the meringues.

Serve with laughter, love or simply a great cup of tea.

-Melissa

banana bread

There is something so deeply nostalgic for me about banana bread. The minute I smell it, it takes me back to warm memories of my childhood, my grand parents and school lunch boxes.

I remember eating it in the holidays at my grandparent’s house after digging in the garden for worms with my grandfather. A great cup of sweet tea and loads of butter always accompanied it. Shortly afterwards we would go fishing with the worms we caught in his strawberry patch.

I was never short of a sandwich trade when ever I opened my lunch box and the wonderfully sweet smell of the banana bread would float out and kiss the noses of my friends. They would all lunge at the opportunity of grabbing a bite or a trade!

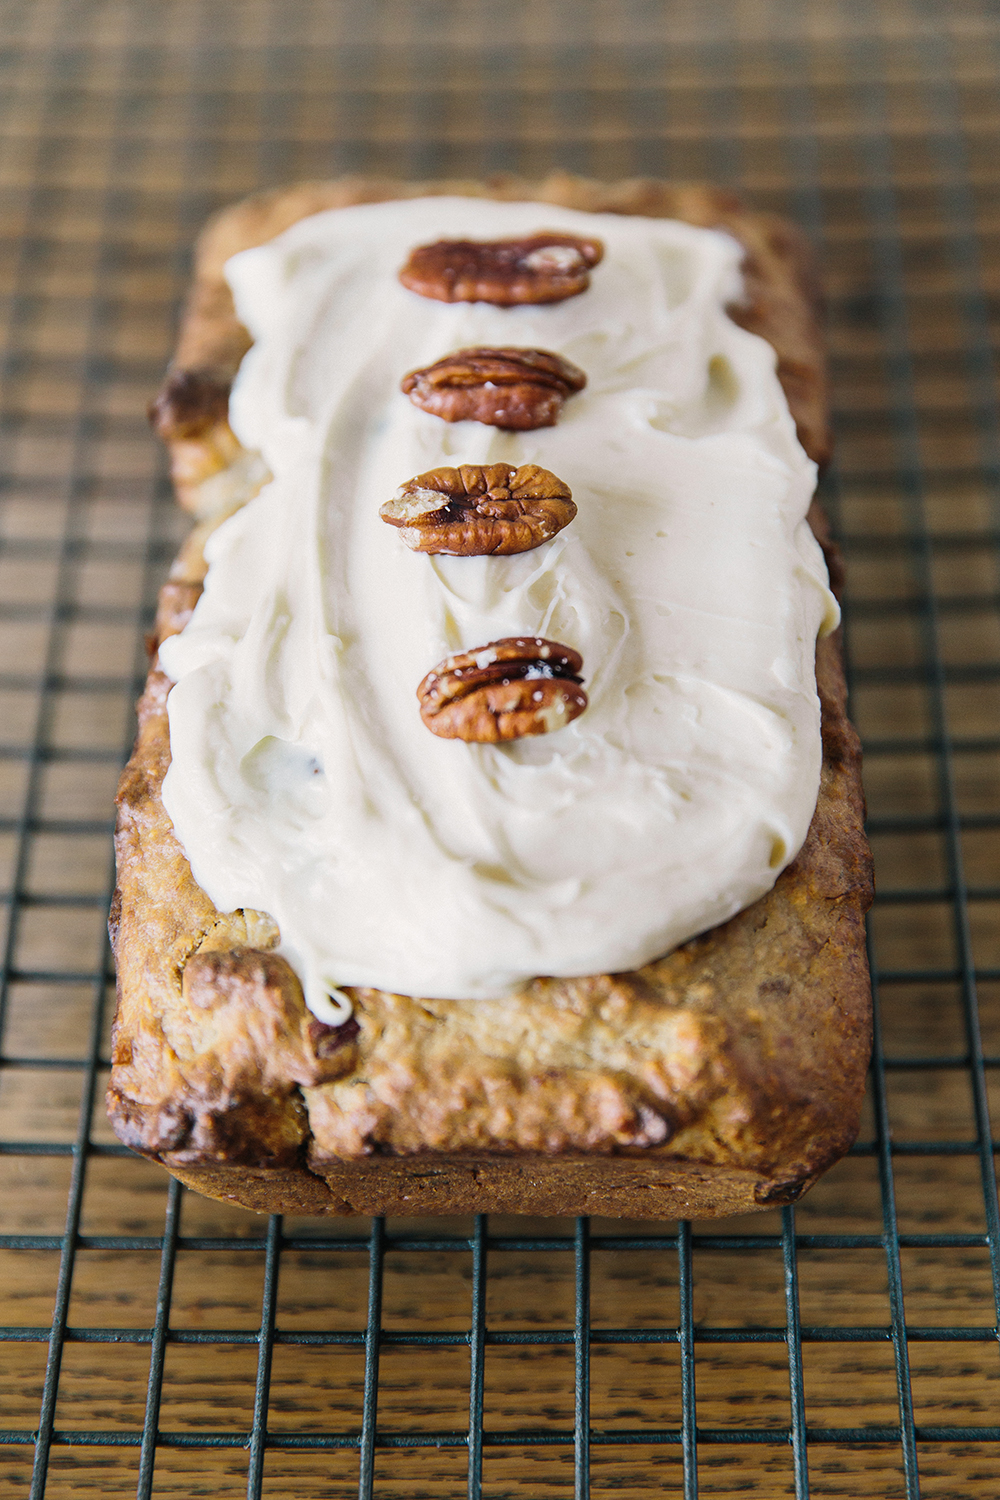
This banana bread is great because I have kicked it up a notch with a rich cream cheese frosting, which is silky smooth. You can always leave it off and just have it with butter. Plain or not this banana bread is quick to make and stays beautifully in the fridge for any occasion.


Serves: 6

Ingredients:

•   3 ripe bananas, smashed - don't have ripe bananas? Put them in the oven at 100 degree Celsius for 30 minutes

•   1/3 cup melted butter

•   3/4 cup sugar

•   1 egg, beaten

•   1 teaspoon vanilla extract

•   1 teaspoon baking soda

•   Pinch of salt

•   1 1/2 cups all-purpose flour

•   1/2 cup pecan nuts, chopped

•   1/4 cup desiccated coconut

•   250g cream cheese

•   1 tsp. vanilla extract

•   1/3 cup icing sugar

•   1 Tbsp. lemon juice

Pecan nuts for decoration


instructions:

Preheat the oven to 180°c

Grease your bread loaf tin a 4x8 inch or 10 x 20cm

In a large bowl using an electronic mixer mix the butter and the mashed bananas.

Next mix in the sugar, egg and vanilla.

Next add the baking soda and salt and mix it into the batter

Add the flour to the batter and mix it in, careful to not over beat the batter.

Lastly add in the pecan nuts and coconut. Mix again just until all the ingredients are evenly combined.

Add your mixture to your baking tin and bake for 1 hour.

Allow to cool on your cooling rack in the tin for 15 minutes and then let it cool further out of the tin.

Now lets get started with the cream cheese frosting:

Sieve your icing sugar into your mixing bowl.

Add all the remaining ingredients and mix. Do not over mix the cream cheese or it will go too soft.

Ice your banana bread and top with pecan nuts for decoration.

Enjoy!

-Melissa

rustic tomato soup

0L8A6543.jpg
0L8A6551.jpg

Every body loves a fresh and delicious Caprese salad. Everyone except me. It’s no secret that I am not a fan of the common tomato. I've tried but my taste buds simply do not agree. I recall being a young girl and my father even offering me money to eat a slice. Needless to say he kept his money and his tomatoes. Now that I am older I often wonder what it would be like to snack of cherry tomatoes. They seem like the perfect treat and they are so healthy. Unfortunately they along with many other tomatoes simply do not go down well. Then I discovered this soup. It’s simple, cheap and cheerful but bursting with flavour. It’s bold and sweet all at the same time! Its a winter warmer that I really recommend. On this day I decided to share the recipe with a good friend of mine who happens to be a health coach. I was rather proud when Nikita from Zesty Mannequin gave it the seal of approval on not only being simply delicious but also a winner in the eating healthy department. I have put a slight twist on the soup serving it with a pesto mozzarella toasties. These flavours sing of a warm Caprese salad and the twist allow me to enjoy the flavours I lose out on with the cold fresh version. 


serves: 4

ingredients:

  • 12 large tomatoes
  • 2 red onions 
  • 1 garlic bulb
  • 4 twigs of rosemary 
  • 2 tsp brown sugar 
  • olive oil 
  • mozzarella
  • pesto 
  • slices of your bread of choice-mine is brown seeded loaf

instructions:

Preheat your oven to 170°c

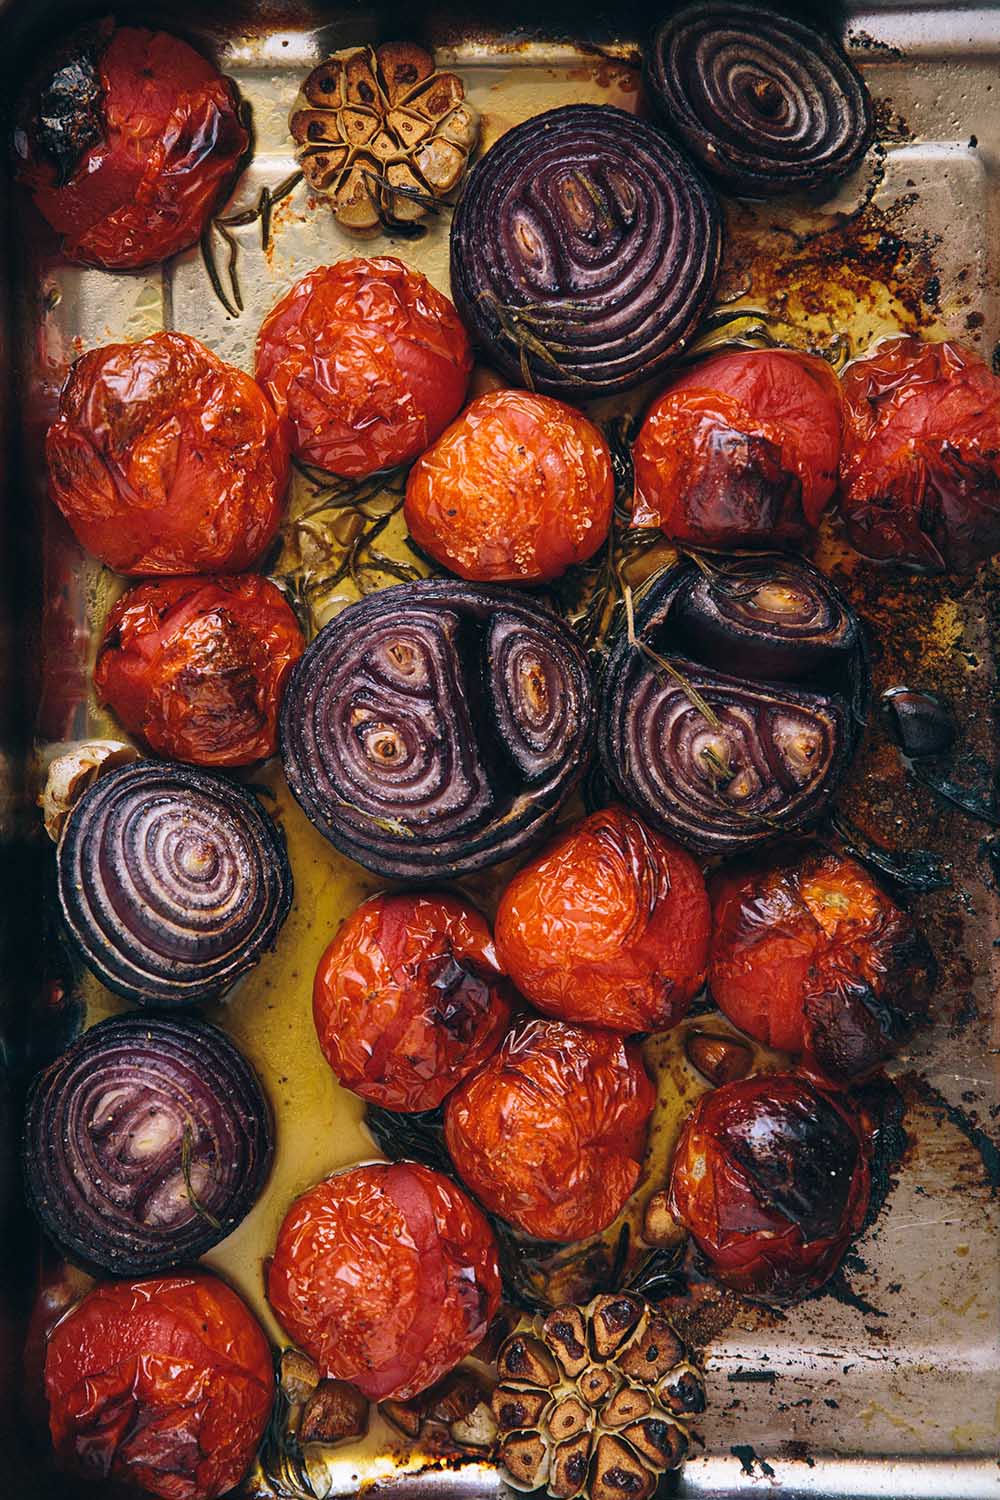
Give your tomatoes a good wash and place them into your roasting tray. Remove the rosemary from the twigs and put it in with the tomatoes. 

Peel and slice your onions in half. Place them in the roasting tray with the rest of the ingredients. Pour your olive oil over all the ingredients and mix it together with your hands, making sure everything is covered in oil before roasting. 

Sprinkle your sugar over all the ingredients, cover the tray with foil and pop the roasting tray into the oven for 40 minutes or until the onions and tomatoes and soft.

In the mean time we can get cracking on the pesto and mozzarella toasties. 

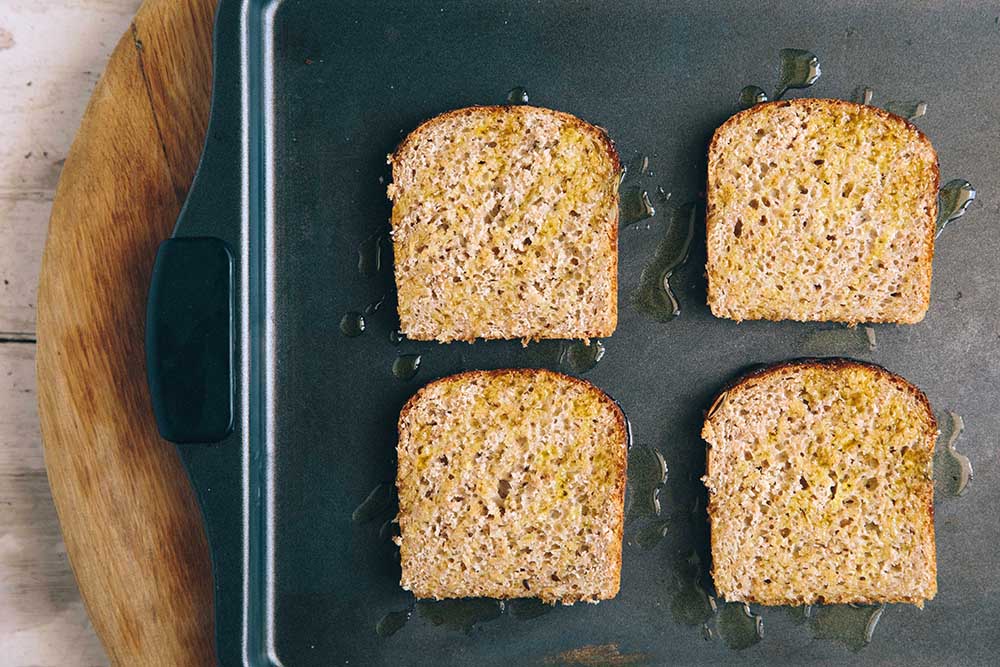
Place your bread on a roasting tray and drizzle olive oil over your slices. we are going to toast the bread in the oven.

When the tomatoes are ready take them out of the oven and pop your bread in. your bread will only need 1-2 minutes each side until its golden brown and just toasted. 

While they are toasting take all your ingredients and put them in a blender. Yes its that simple! Make sure you don't leave any juices behind! 

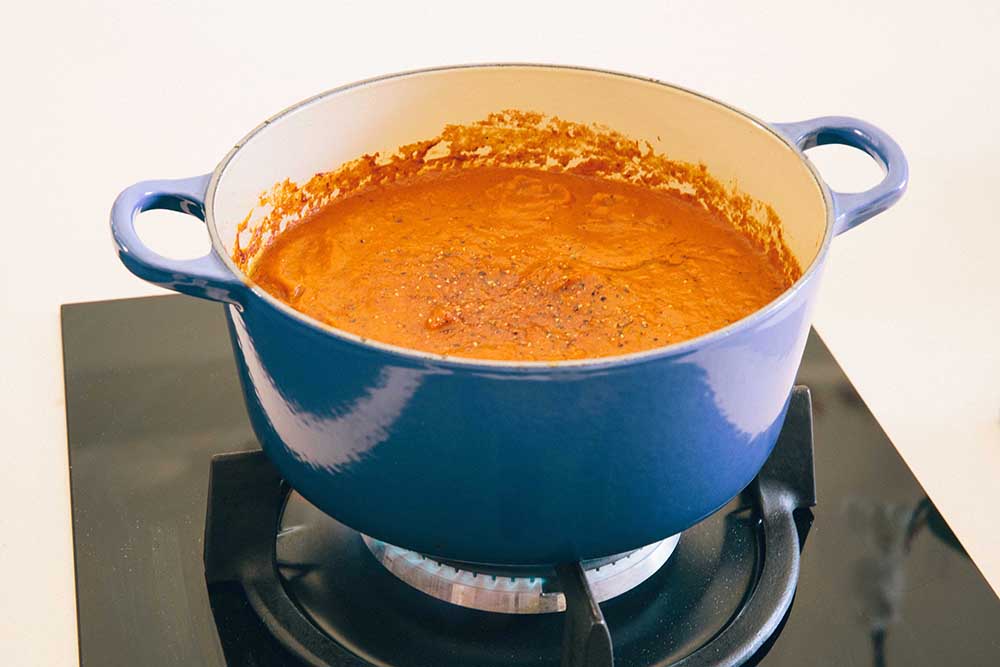
Blend it all up until it becomes a delicious thick tomato soup. Add the soup to a pot and put it on a low heat. i usually add two to three cups of water at the stage and salt and pepper to taste. 

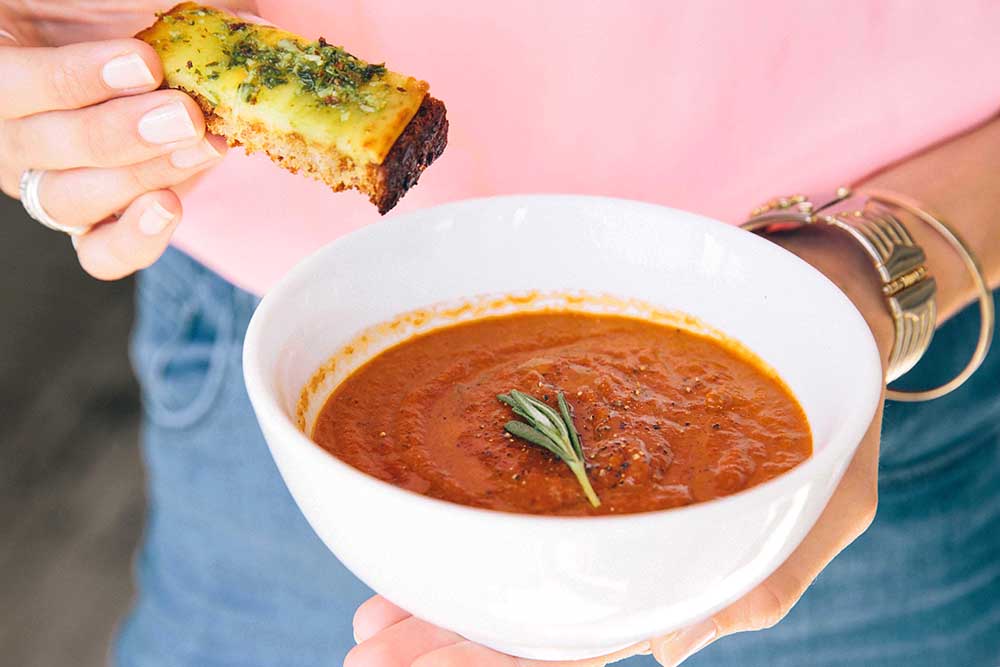
Don’t forget to keep checking up on your toasties. Once they are golden brown, slice your mozzarella and place it onto the toast. Put your oven onto grill and put them under the grill for 4 minutes or until the cheese has melted to your satisfaction. Once out of the oven smear the pesto onto the cheese and slice into soldiers. 

While you are busy with this your soup should be blipping away over the heat. 

Serve your soup with your toasties-nice and hot and ready to delight!

-Melissa